Transforming your bedroom into a serene sanctuary enhances its aesthetic appeal and also significantly impacts your relaxation and sleep quality. A well-planned remodel can turn this private space into a haven of comfort, tailored to your unique style and functional needs.

Whether you're dreaming of a minimalist retreat or a cozy haven, embarking on a bedroom remodel presents an exciting opportunity to reflect your unique tastes and create the ultimate environment for rest and rejuvenation.
From selecting calming color schemes to investing in quality mattresses, each decision plays a crucial role in crafting the perfect bedroom.
In this article, we will take a look at the essential steps to consider in the early stages of your remodeling project.
No. 1
Define Your Style and Functionality Needs
Before you start picking out paint swatches or furniture, it’s important to have a clear understanding of your desired aesthetic and what you need from your bedroom.
Are you looking for a peaceful reading nook, ample storage, or perhaps a space that serves multiple functions? Determining your style and functional requirements upfront will guide your remodeling decisions and help ensure your new bedroom meets all your needs.
No. 2
Choose a Calming Color Palette
The colors you surround yourself with can significantly affect your mood and sleep quality. Opting for a calming color palette is key to creating a relaxing bedroom atmosphere.
Soft, muted tones such as pale blues, greens, and lavenders are known for their soothing properties. These hues can help transform your bedroom into a tranquil escape, conducive to unwinding after a long day.
No. 3
Invest in a Quality Mattress
One of the most impactful investments you can make in your bedroom remodel is in a good-quality mattress. A good night’s sleep is foundational to overall health and well-being; choosing the right mattress that provides both comfort and functionality is a pivotal decision in your remodel.
The best Posturepedic mattresses can dramatically improve your sleep experience. These mattresses are designed to support and align your body correctly, potentially easing discomfort and promoting deeper, more restful sleep.
No. 4
Optimize Lighting for Relaxation
In a bedroom, where relaxation is key, it's essential to have flexible lighting options. Incorporating layers of light, from ambient and task to accent, allows you to adjust the illumination to suit any activity, whether it's reading, dressing, or winding down before sleep.
Consider installing dimmer switches for overhead lights and adding bedside lamps for focused task lighting, creating a versatile and inviting space.
No. 5
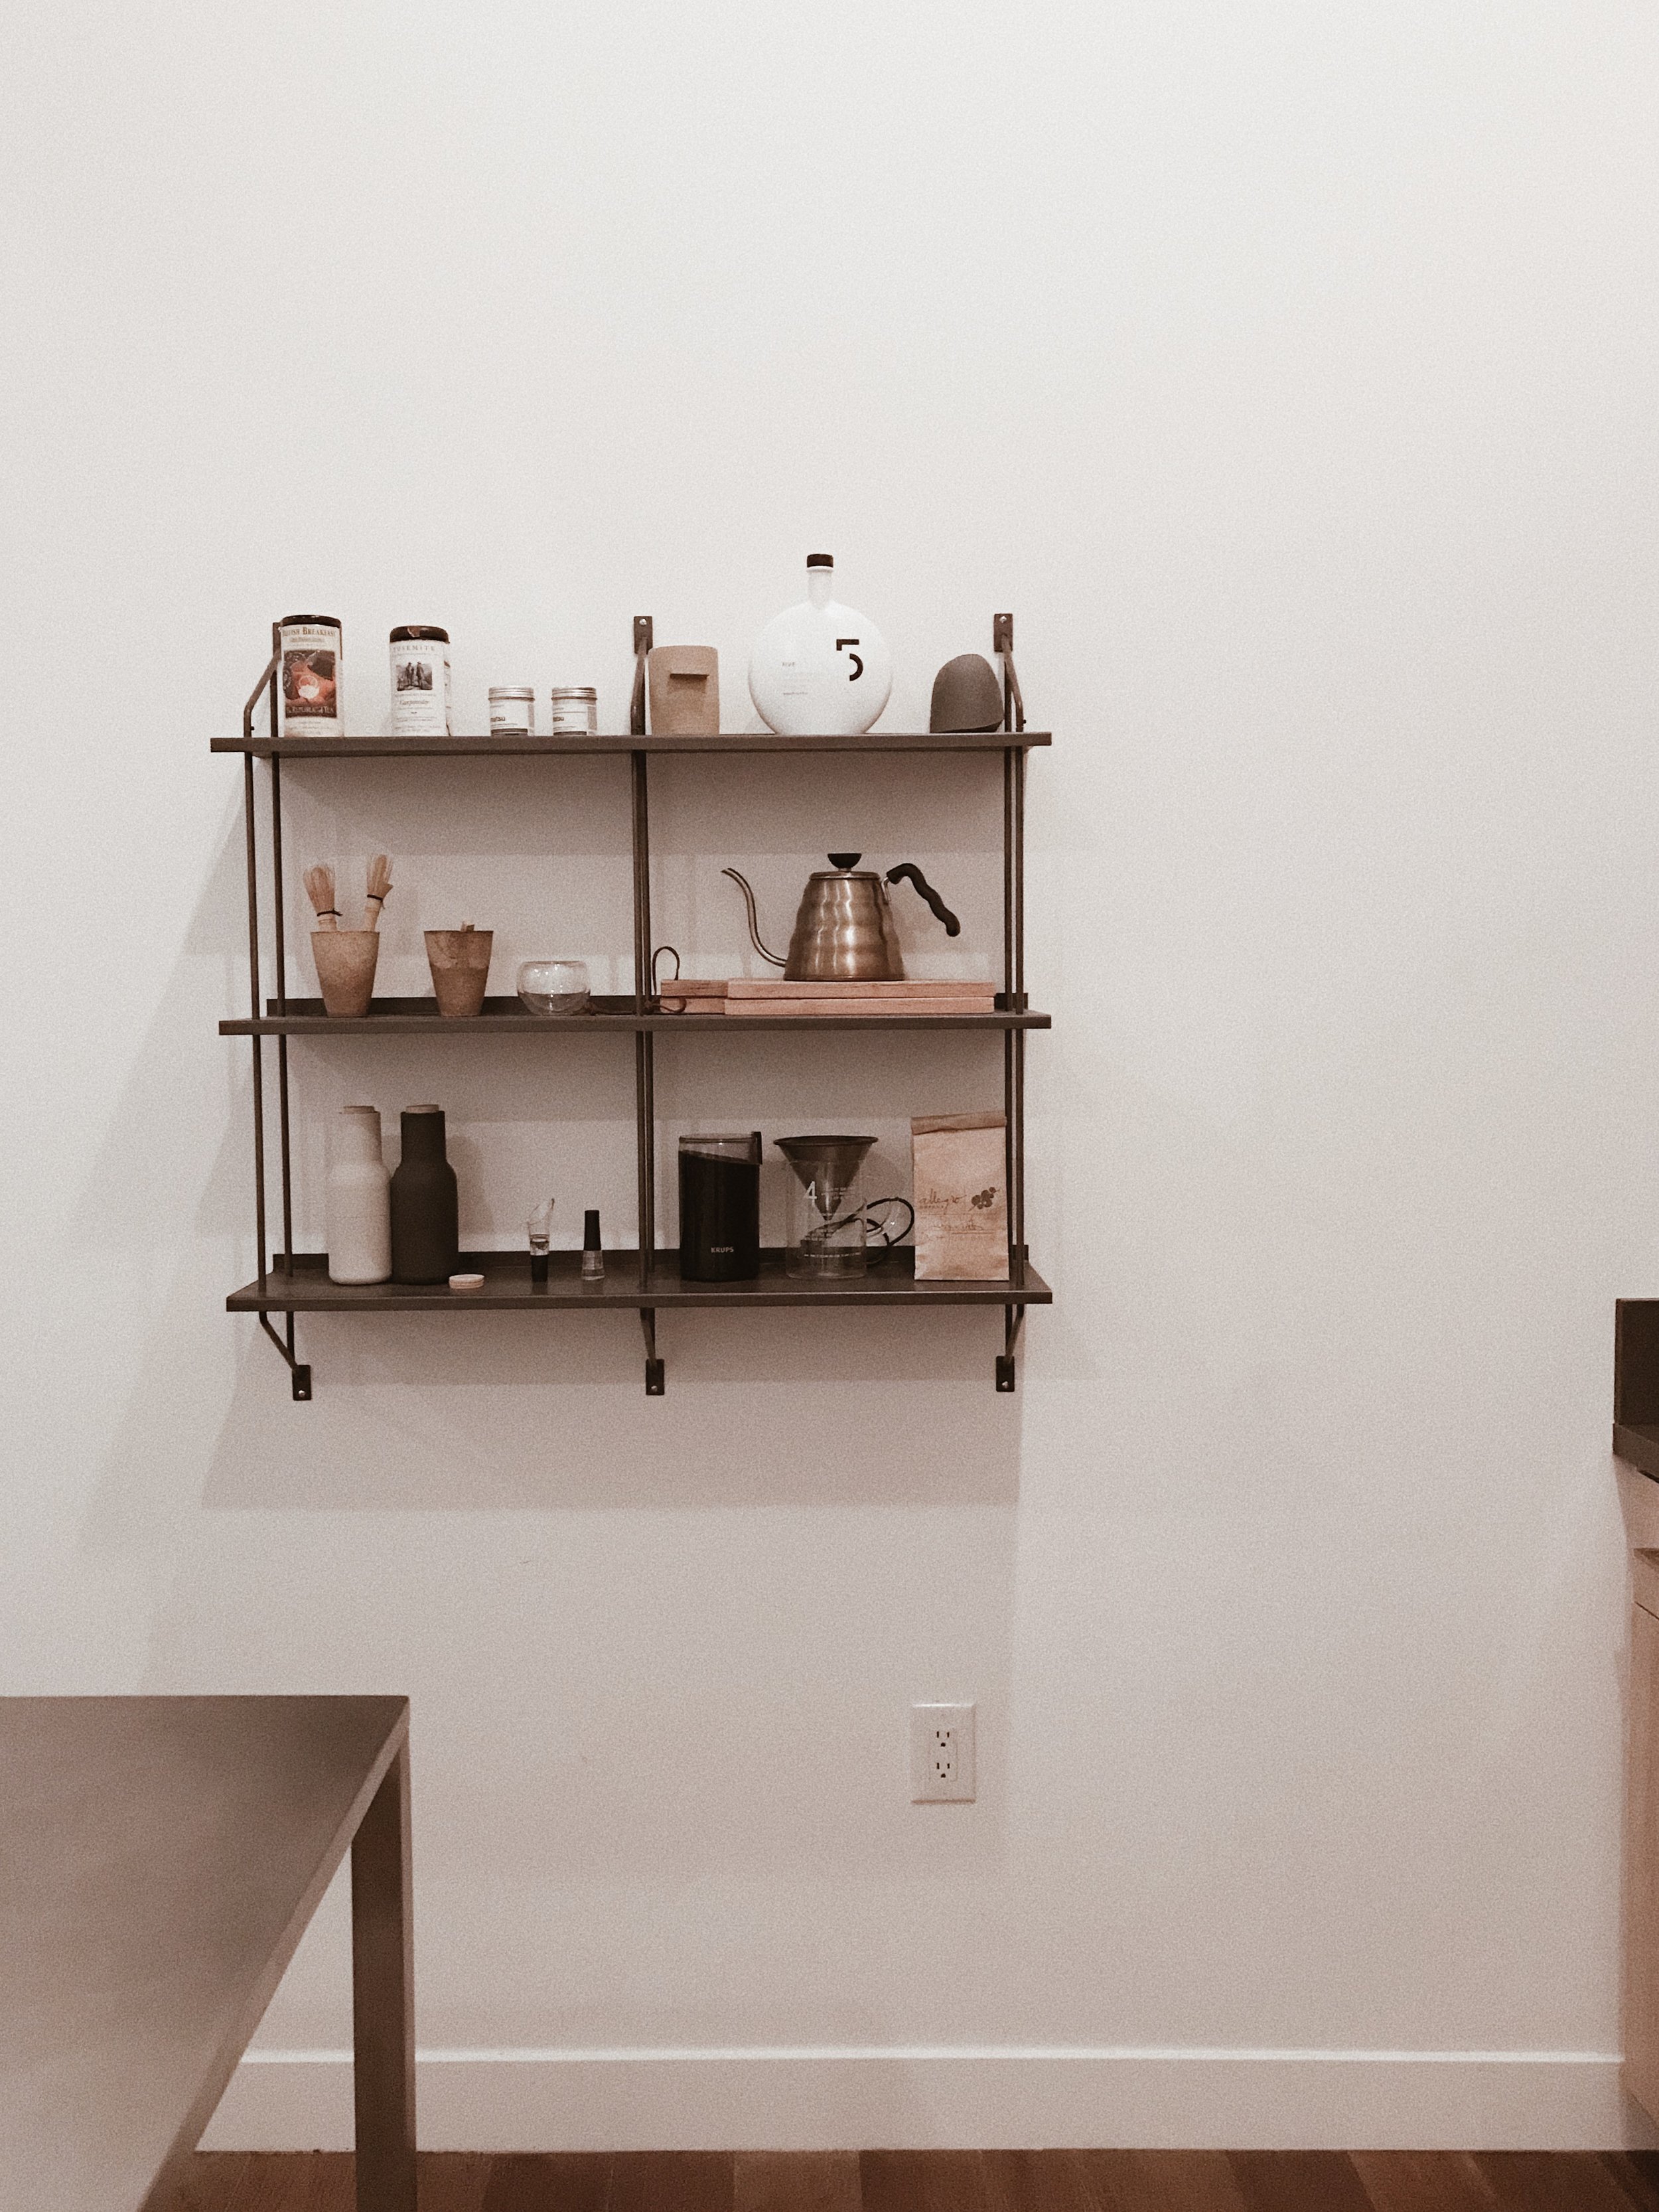
Maximize Storage Space
A clutter-free bedroom is essential for creating a peaceful environment. Maximize your storage space by considering built-in solutions, under-bed storage, or multi-functional furniture pieces like ottomans with hidden compartments.
Efficient storage solutions help keep your bedroom tidy and contribute to a more serene and orderly space, enhancing your overall comfort and relaxation.
No. 6
Select Comfortable and Stylish Bedding
Your choice of bedding plays a significant role in both the comfort and aesthetic appeal of your bedroom. High-quality, soft fabrics can make climbing into bed a luxurious experience, while the design and color of your bedding can complement your room’s decor.
Opt for materials that feel great against your skin and select a style that ties together your bedroom’s color scheme and design theme, adding both comfort and beauty to your space.
No. 7
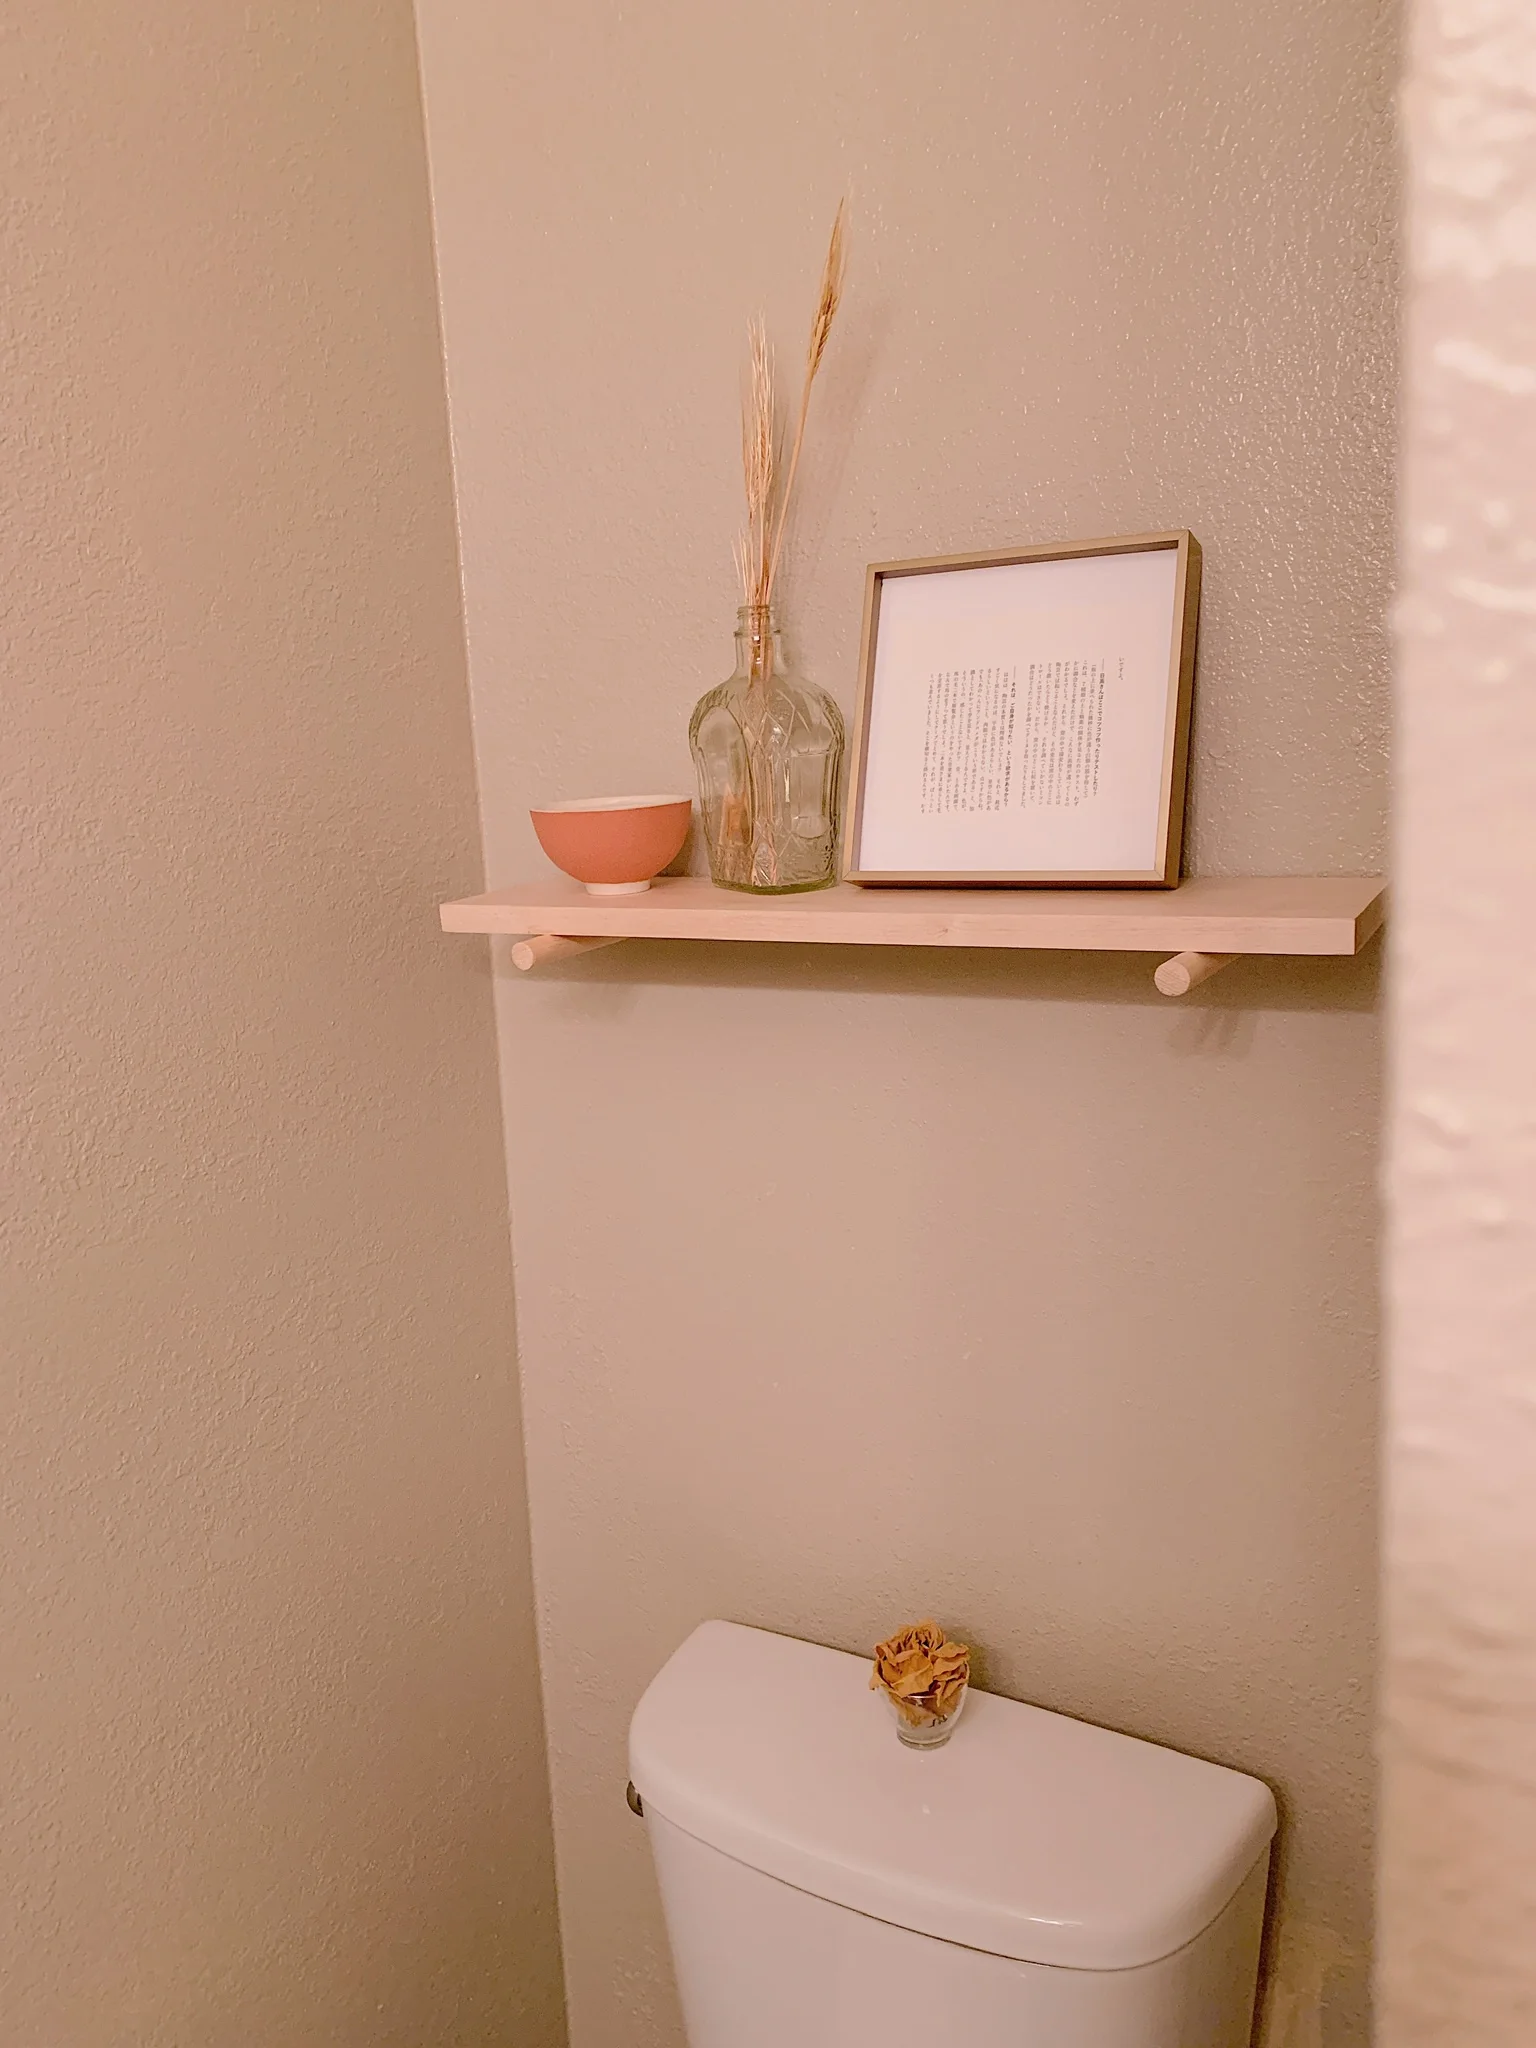
Incorporate Personal Touches
Your bedroom should be a reflection of your personality, a space where personal tastes and treasures take center stage. Incorporating elements that are uniquely you—be it through artwork, a collection of favorite books, or heirloom pieces—can significantly elevate the comfort level of your bedroom.
By adding personal touches, you imbue the space with warmth and character, making it truly feel like your own.
No. 8
Consider Window Treatments
The right window treatments can drastically enhance both the functionality and aesthetics of your bedroom. They offer privacy, and light control, and can even provide insulation.
Whether you choose flowing curtains for a soft, romantic feel or sleek blinds for a more modern look, selecting window treatments that complement your decor while serving their purpose is key.
Consider light-filtering options to gently wake up to natural light or blackout curtains to ensure undisturbed sleep.
No. 9
Focus on Flooring
To get flooring properly installed, you should look for a handyman near me in Crabtree and other areas, as these professionals will have the right tools to do the job right. They can also advise you on what will best suit your lifestyle and the features of different types of flooring. However, ultimately, choosing the right flooring depends on your personal preference, lifestyle, and the overall design theme of your bedroom.
Consider soft, plush carpeting to add warmth and coziness, making getting out of bed on a cold morning more bearable. Alternatively, hardwood or laminate flooring with stylish area rugs can offer a cleaner look while still providing comfort underfoot.
No. 10
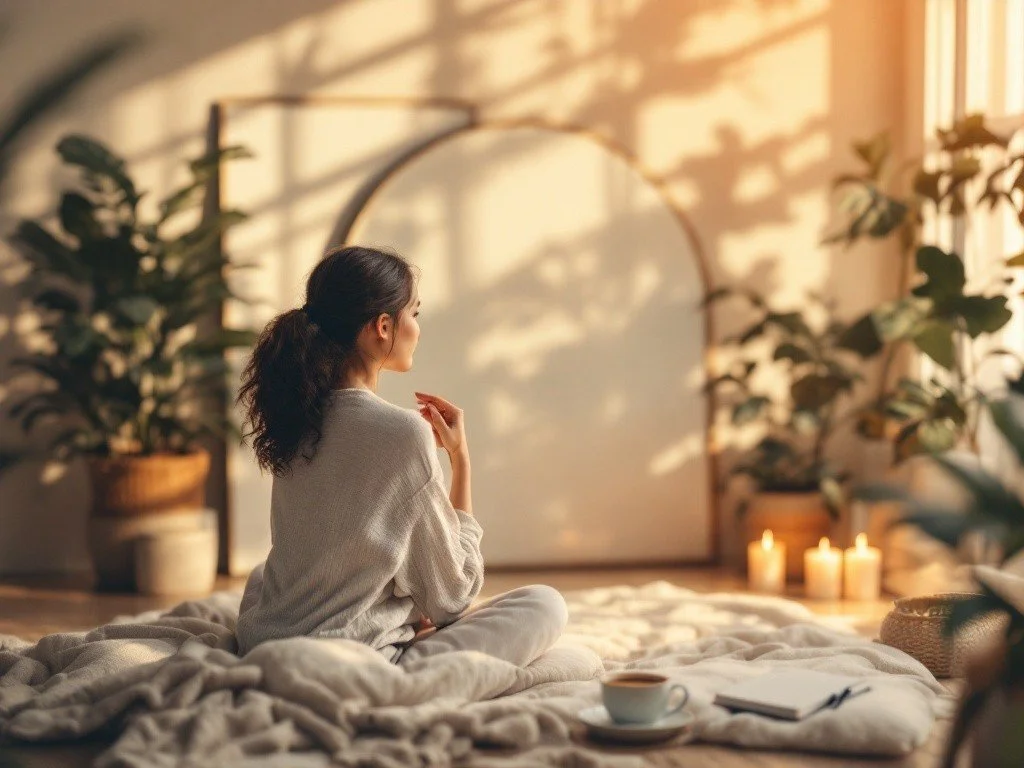
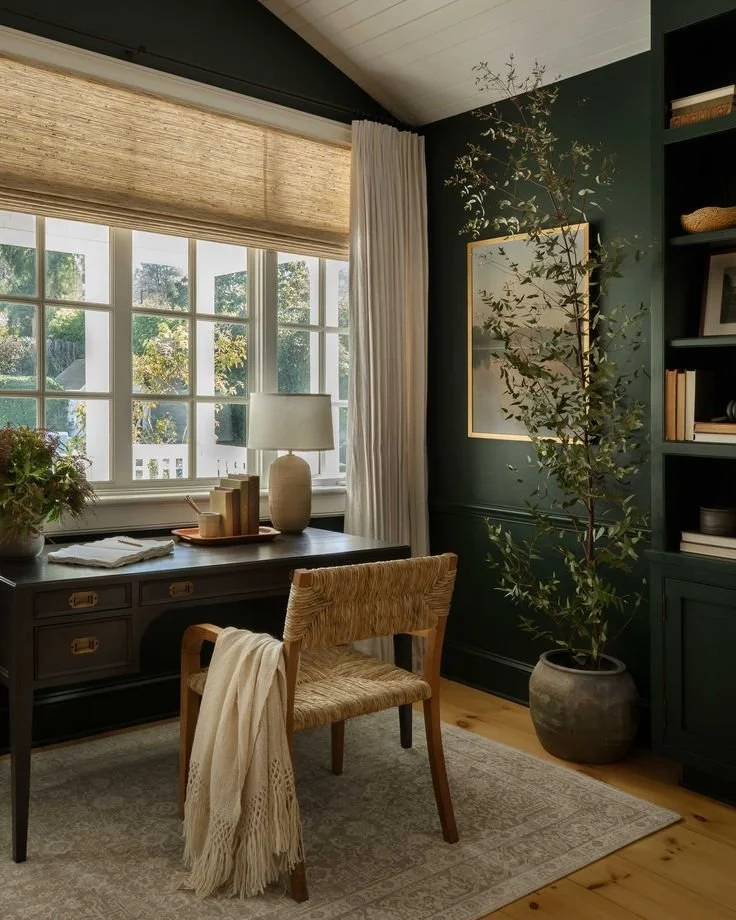
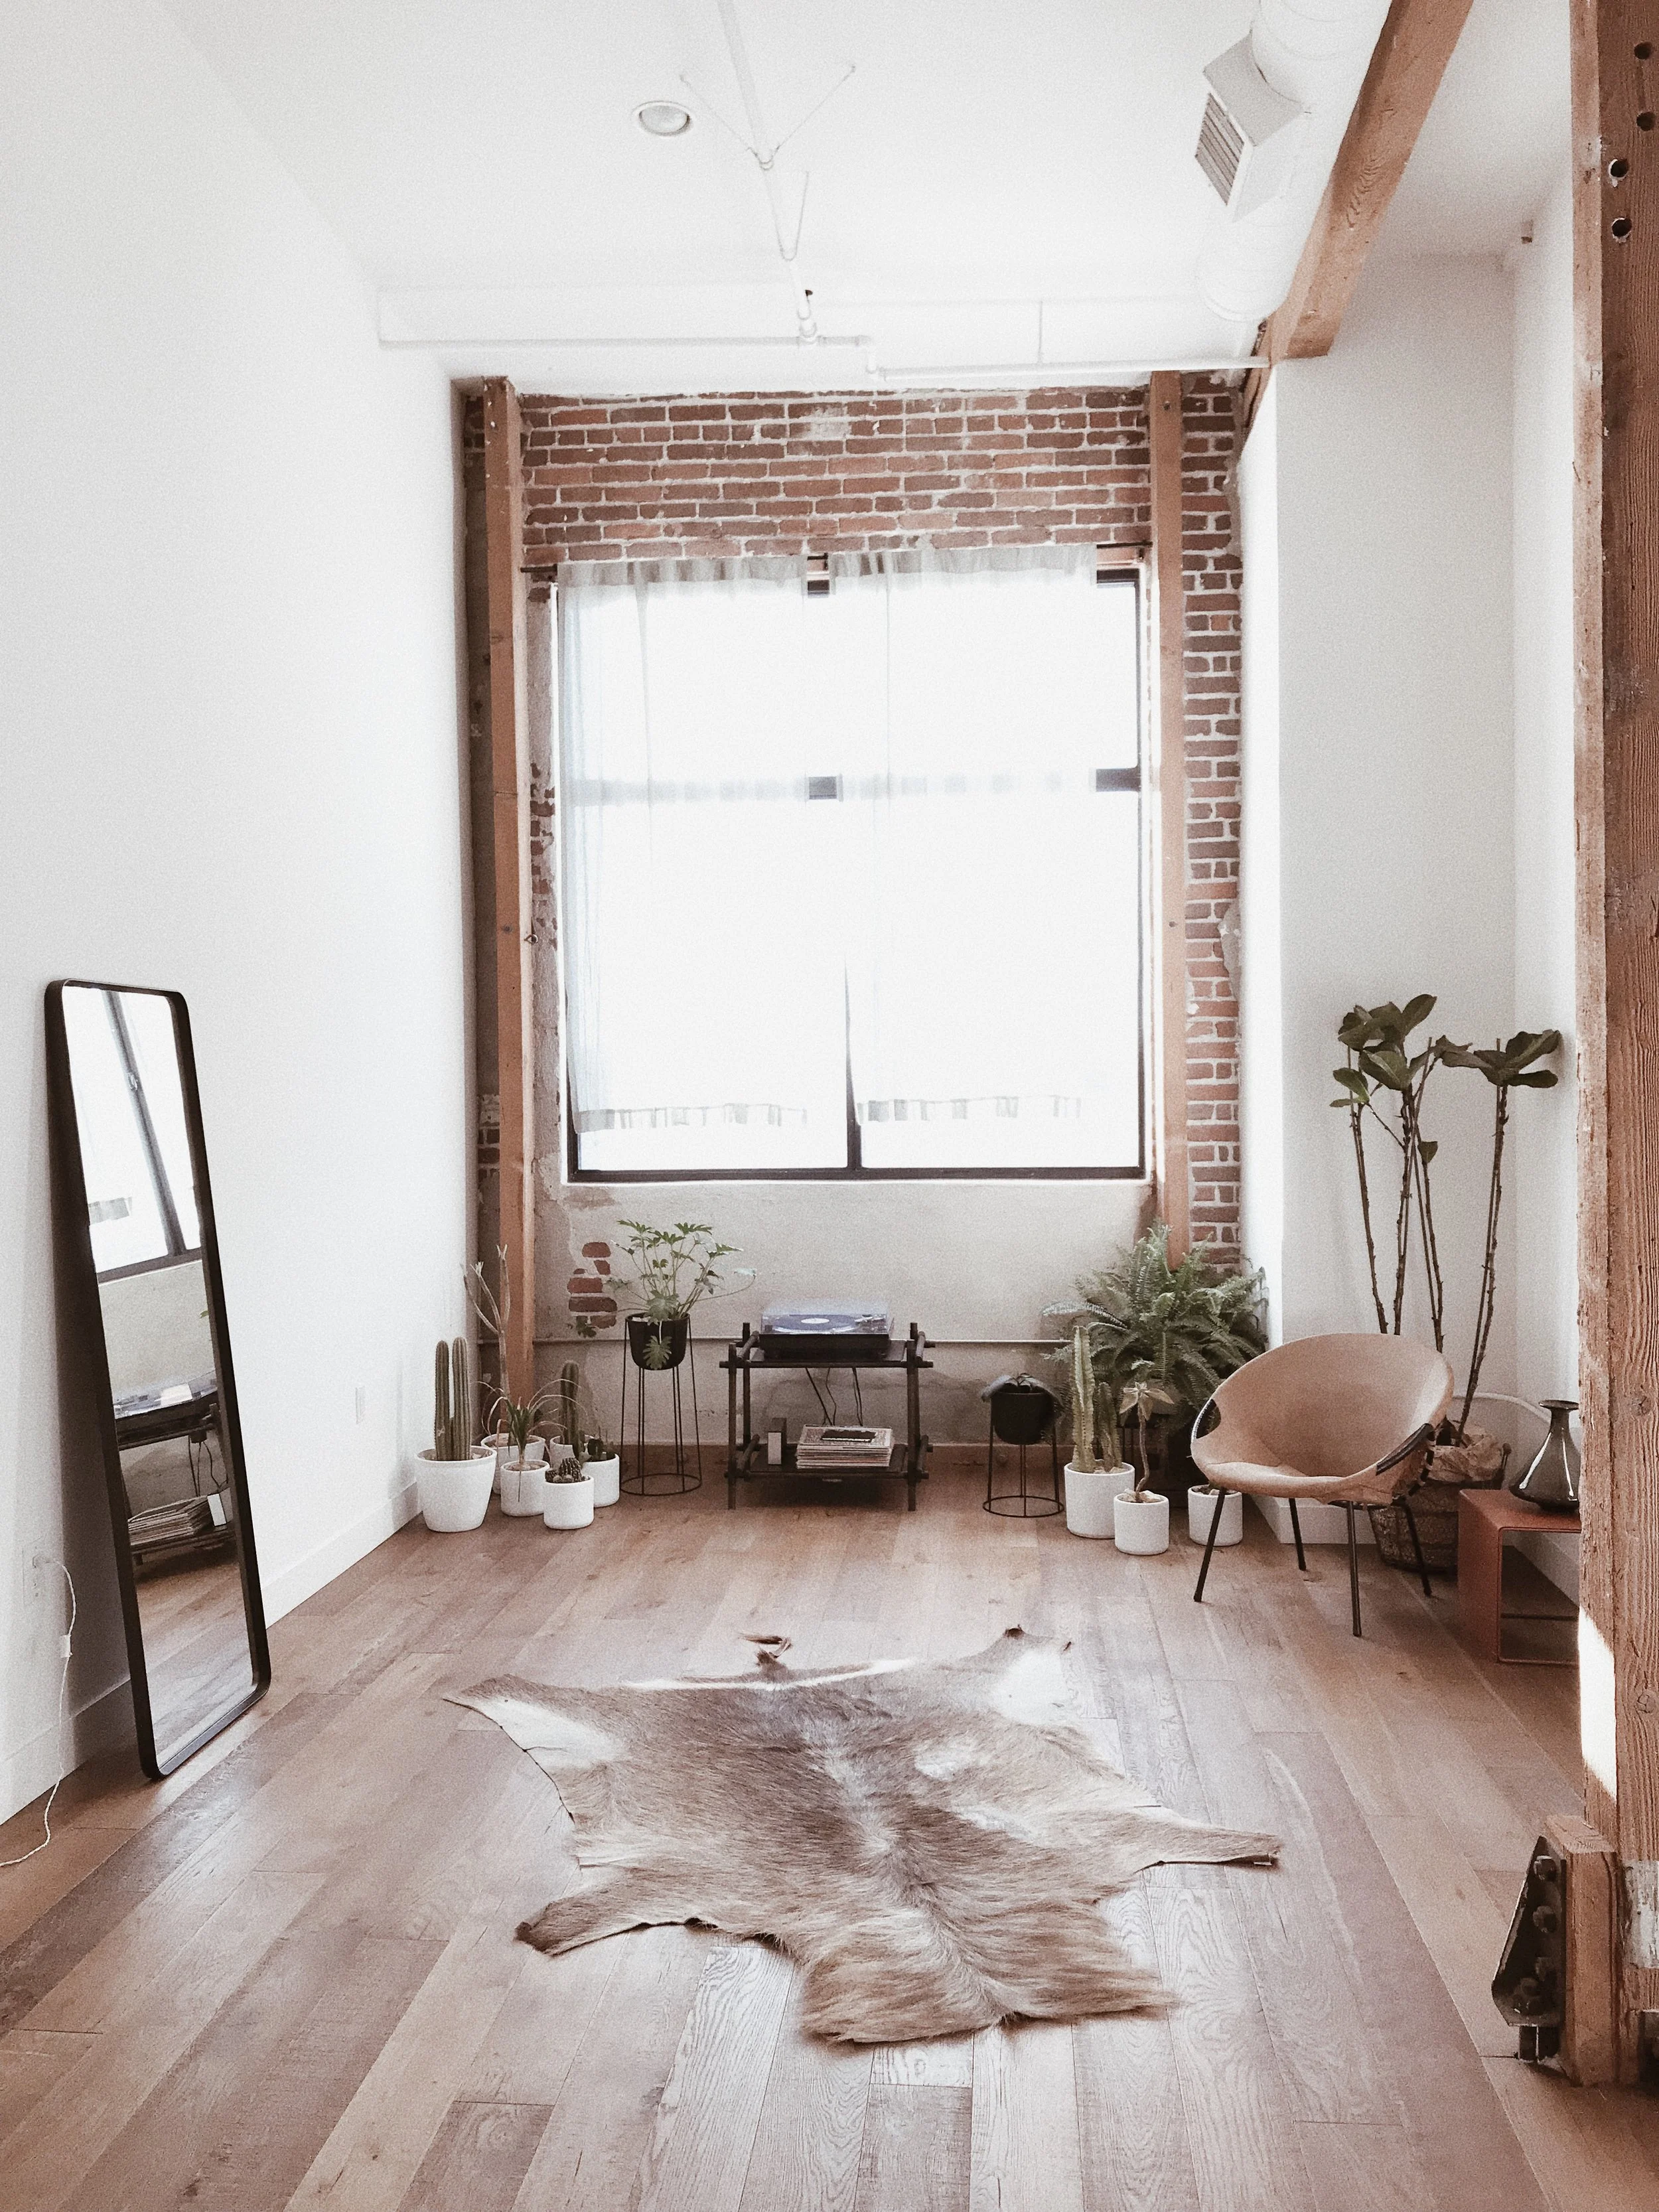
Create a Reading Nook or Seating Area
If space permits, creating a dedicated area for reading or relaxing can add an extra layer of functionality and comfort to your bedroom. A cozy chair by the window, a small bookshelf, and a lamp can turn an unused corner into your favorite spot to unwind with a good book or enjoy a cup of tea.
Creating a distinct area encourages relaxation and leisure within the privacy of your bedroom, making it a versatile space for more than just sleep.
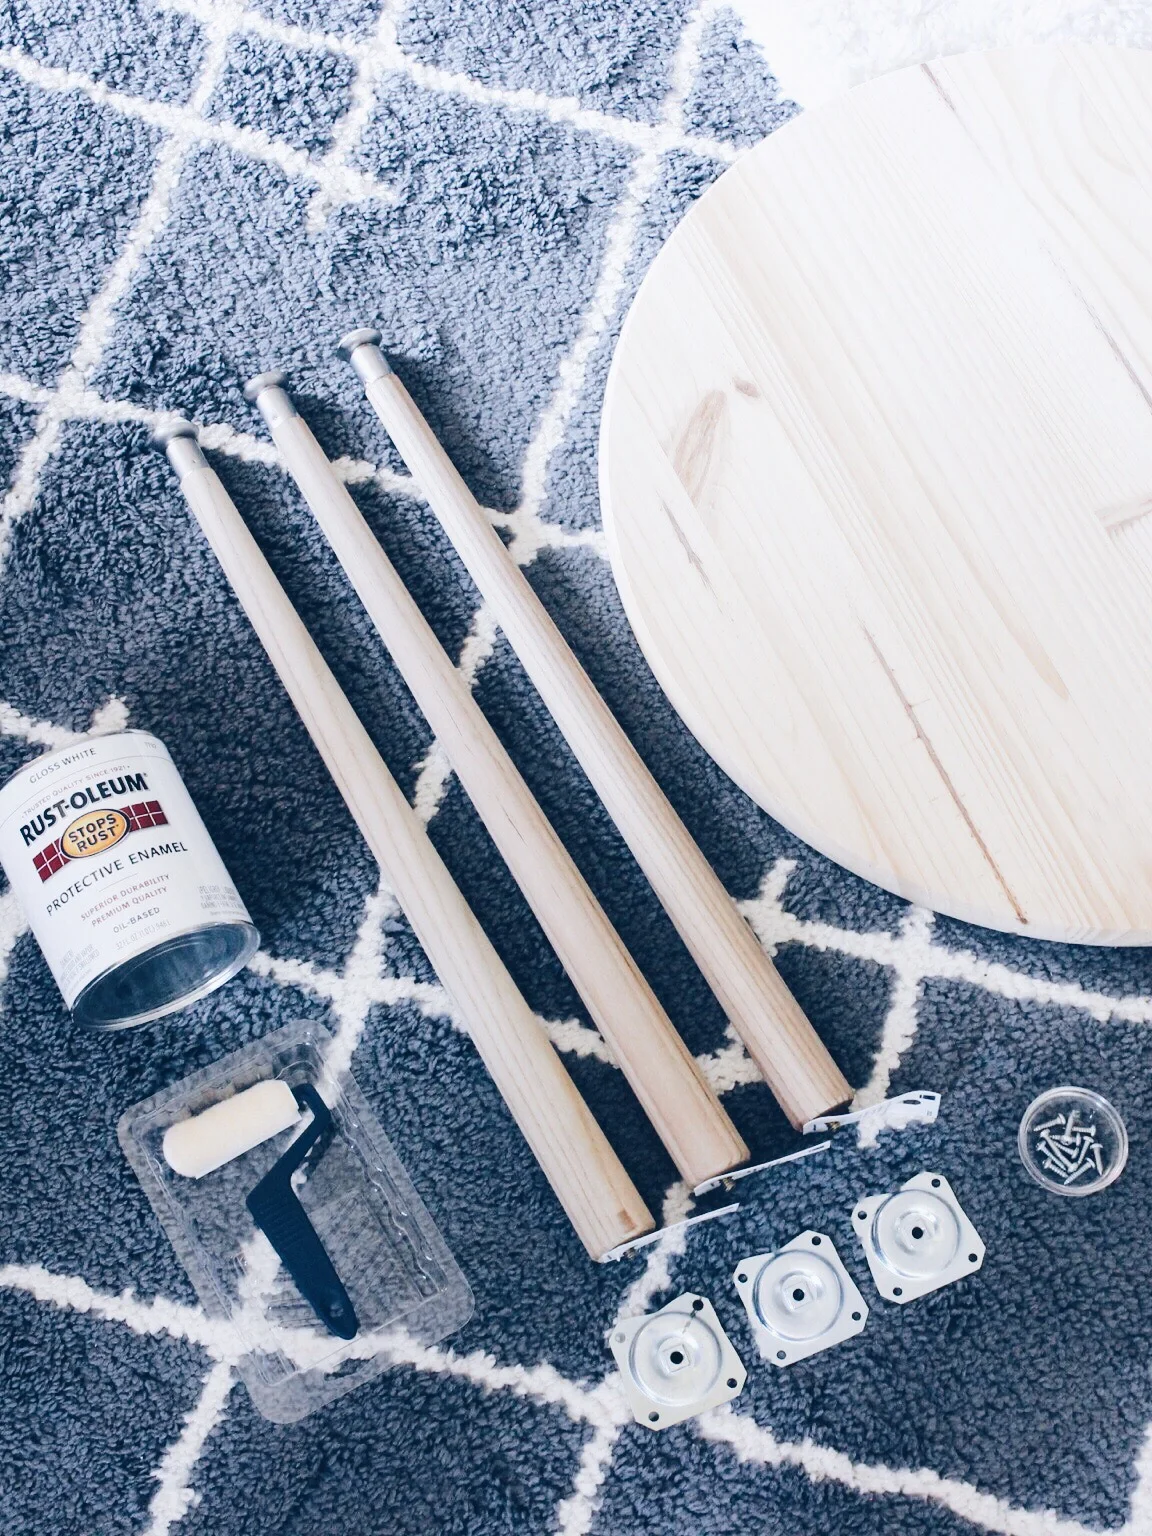
No. 11
Update Bedroom Furniture
As part of your bedroom remodel, consider buying new furniture, or updating or refinishing existing furniture to match your new aesthetic. Changing the hardware on dressers, repainting nightstands, or even investing in a new bed frame can refresh the look of your room without a complete overhaul.
Choose pieces that look great and also contribute to the organization and functionality of the space, ensuring your bedroom remains a clutter-free sanctuary.
No. 12
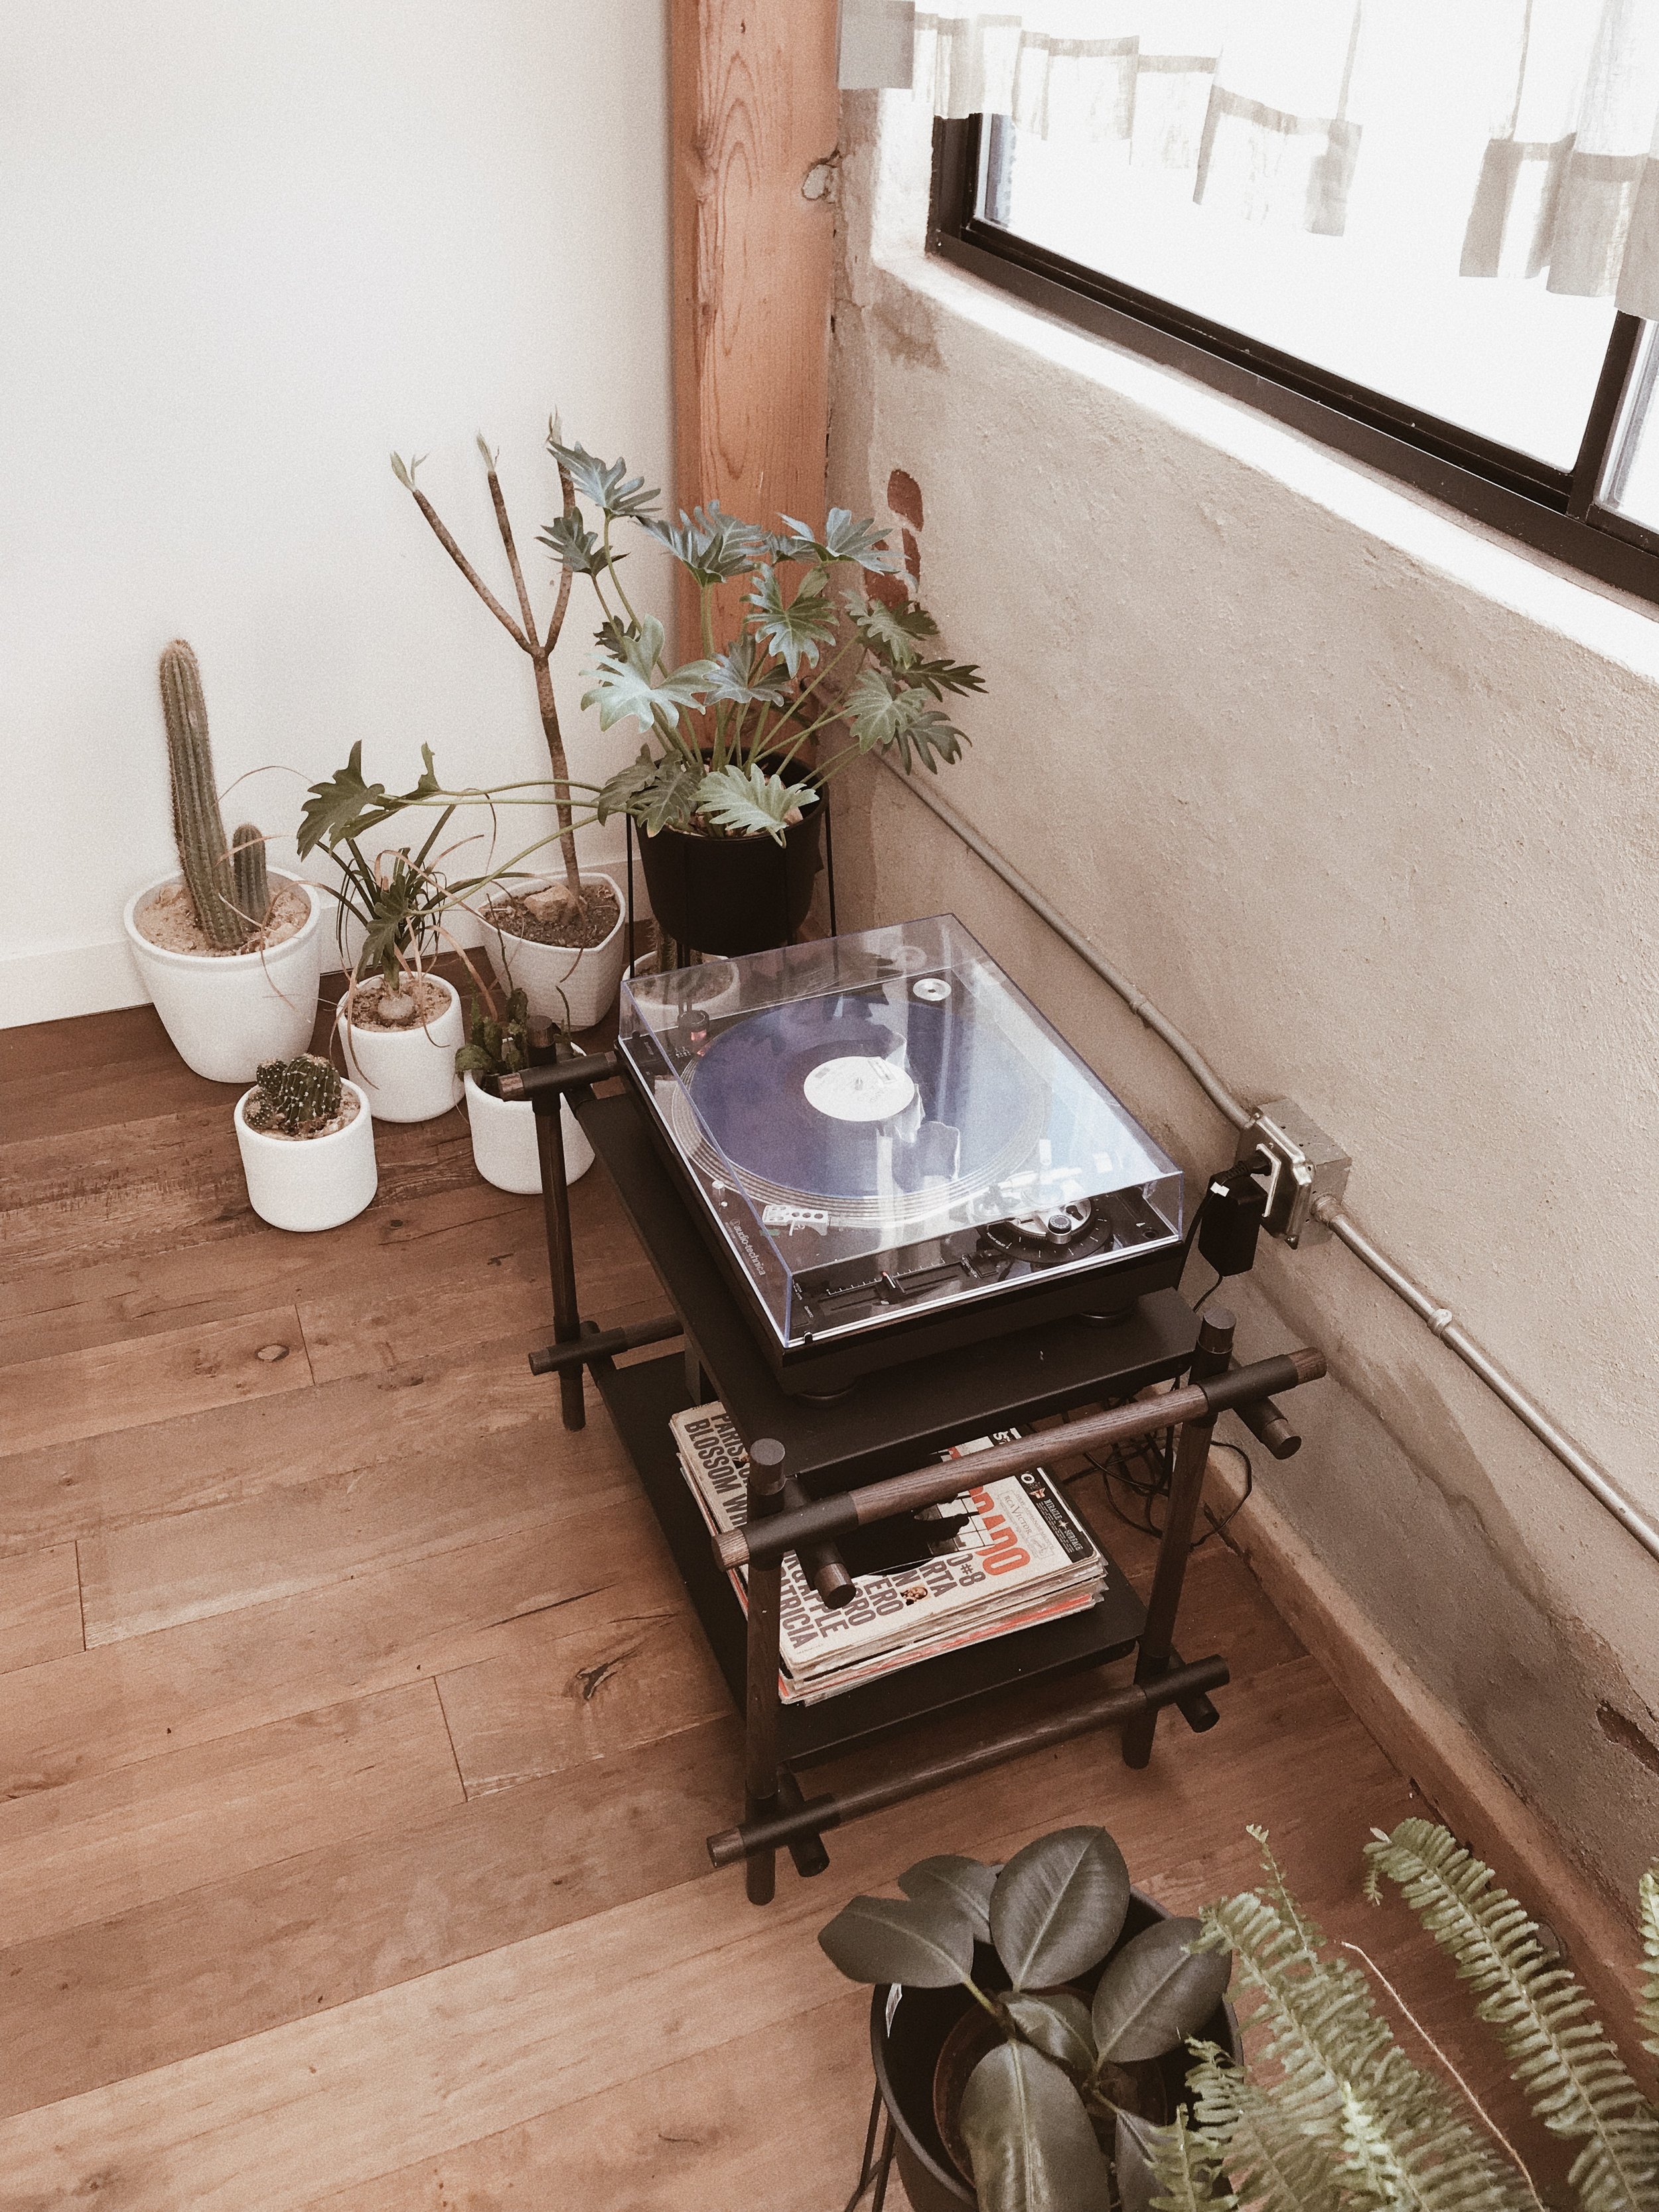
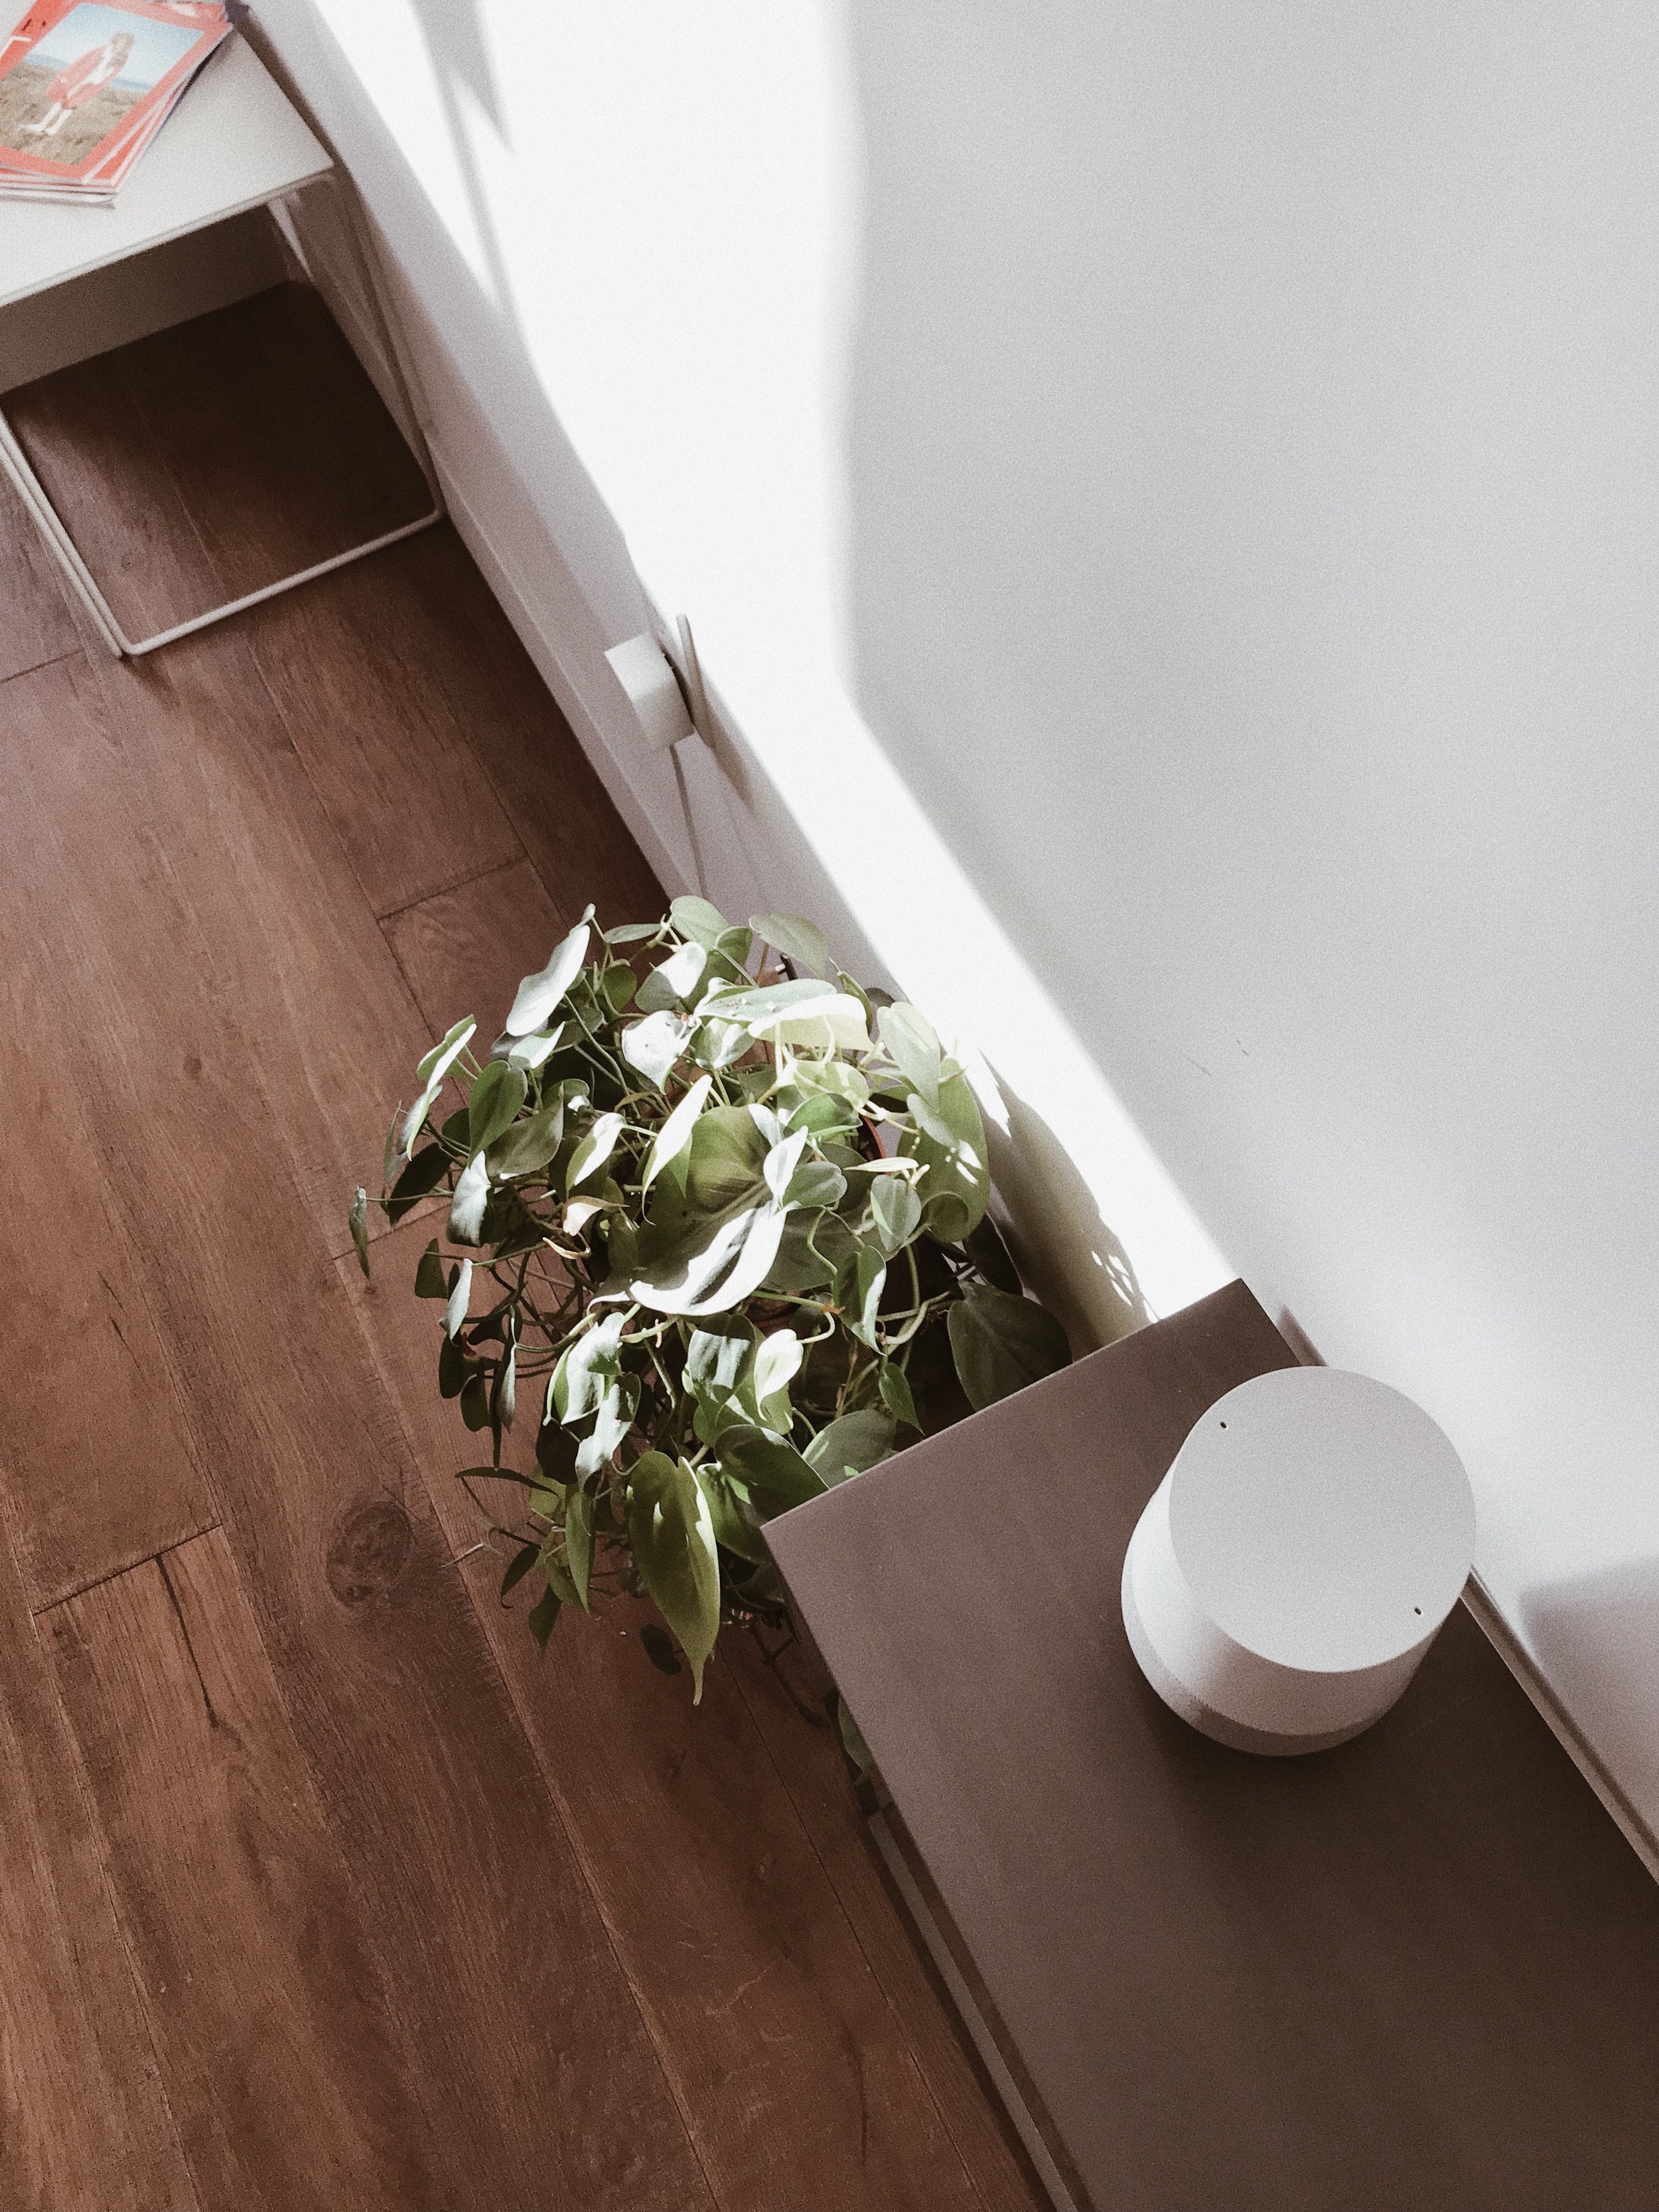
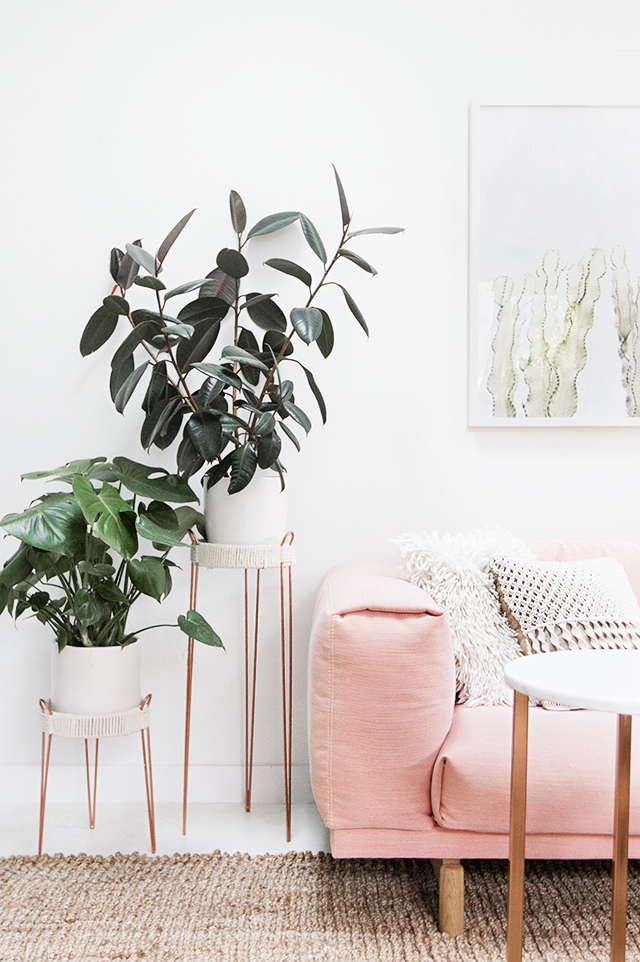
Add Greenery
Introducing plants into your bedroom can boost mood, enhance air quality, and add a lively touch of nature. Low-maintenance indoor plants can thrive with minimal care, providing greenery and freshness to your decor.
Besides their aesthetic appeal, plants can have a calming effect, contributing to a more relaxing and comfortable bedroom environment.
Takeaways
The process of remodeling your bedroom offers a unique opportunity to create a space that perfectly balances style, comfort, and personal expression. From the foundational elements of a quality mattress and optimal lighting to the final touches of greenery and personal decor, each aspect of your remodel plays a pivotal role in crafting a bedroom that’s not just a place to sleep, but a sanctuary for relaxation and rejuvenation.
Keep in mind that the most successful bedroom remodels are those that reflect the inhabitants' personalities and meet their needs for comfort and functionality. By carefully considering each of these tips, you can transform your bedroom into a haven that enhances your well-being and offers a peaceful retreat from the outside world.