Posts tagged sweets
Recipe | Creamy Thai Tea
HelloLovelyLiving.com | Creamy Thai Tea Recipe

If you have been following me along on Instagram, you'll probably already know that I love me some THAI TEA! I first discovered my love for this yummy drink back home on Guam where I used to have it at my favorite local Thai restaurants - Ban Thai and Chaopraya Thai Cuisine. I am obsessed with Thai food, so I've learned to make many Thai dishes while away from home. I love to make Panang Curry, Tom Yum Kung (hot and sour shrimp soup), Tom Kha Gai (chicken coconut soup), and Pad Thai (stir-fried noodles). As you can tell, Thai food has my heart (and tummy).

HelloLovelyLiving.com | Creamy Thai Tea Recipe

Naturally, Thai tea is also on the menu because, who says I can only have Thai tea once in a blue moon! Once I learned just how easy it was to make this creamy and delicious slice of heaven at home, my life was made. Needless to say, I've been hooked ever since! Now, whenever the craving calls (which is quite often), I just whip some up in no time and have my fix without every having to set foot into a Thai restaurant. Let me teach you just how simple it is to make!

HelloLovelyLiving.com | Creamy Thai Tea Recipe

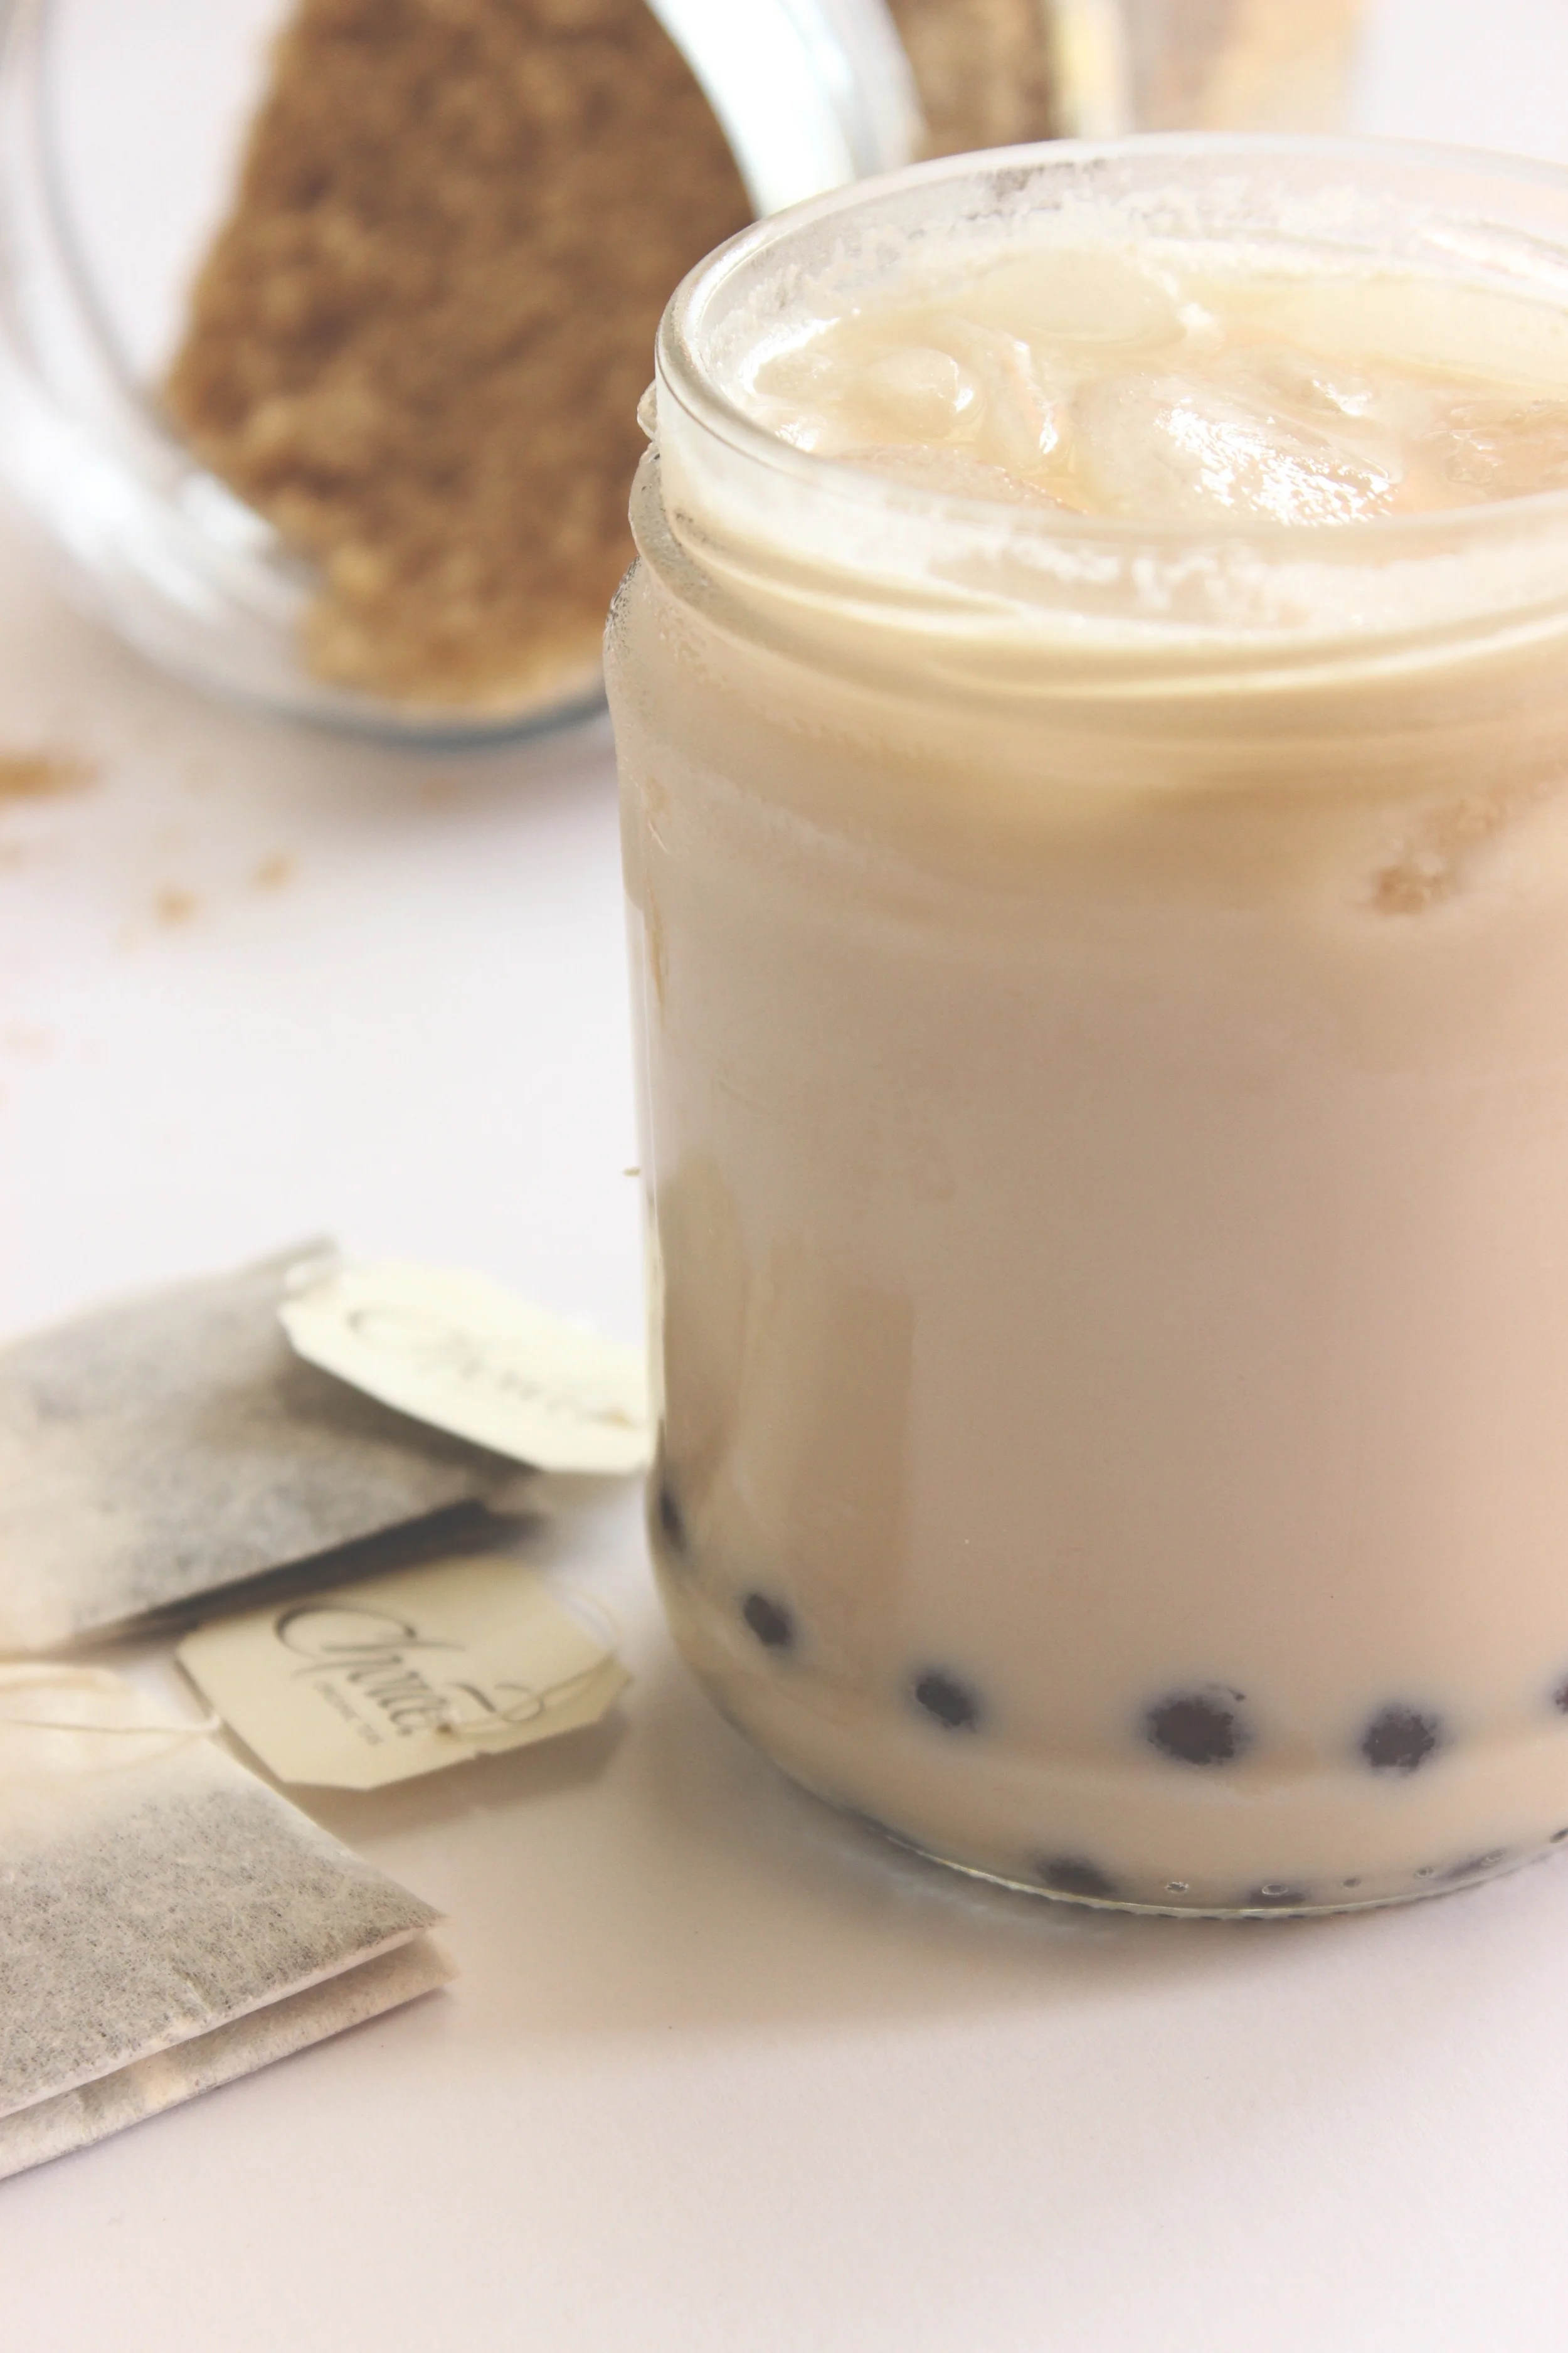
For the record, homemade Thai tea tastes nothing like the can or jar variety you see in stores. It tastes a zillion time better. Not even kidding about the zillion part! As they always say, fresh is best! My favorite part about making Thai tea is mixing it. I feel like an artist every time I stir the tea in with the cream. It's one of those satisfying moments where my eyes light up and I'm debating whether I'd rather stare at it or drink it. Of course, that doesn't last too long. Drinking it sounds waaaaaay better! Anyway - as if you needed any more convincing from me that you need to make this delicious concoction! Let's get into the recipe, shall we!

HelloLovelyLiving.com | Creamy Thai Tea Recipe

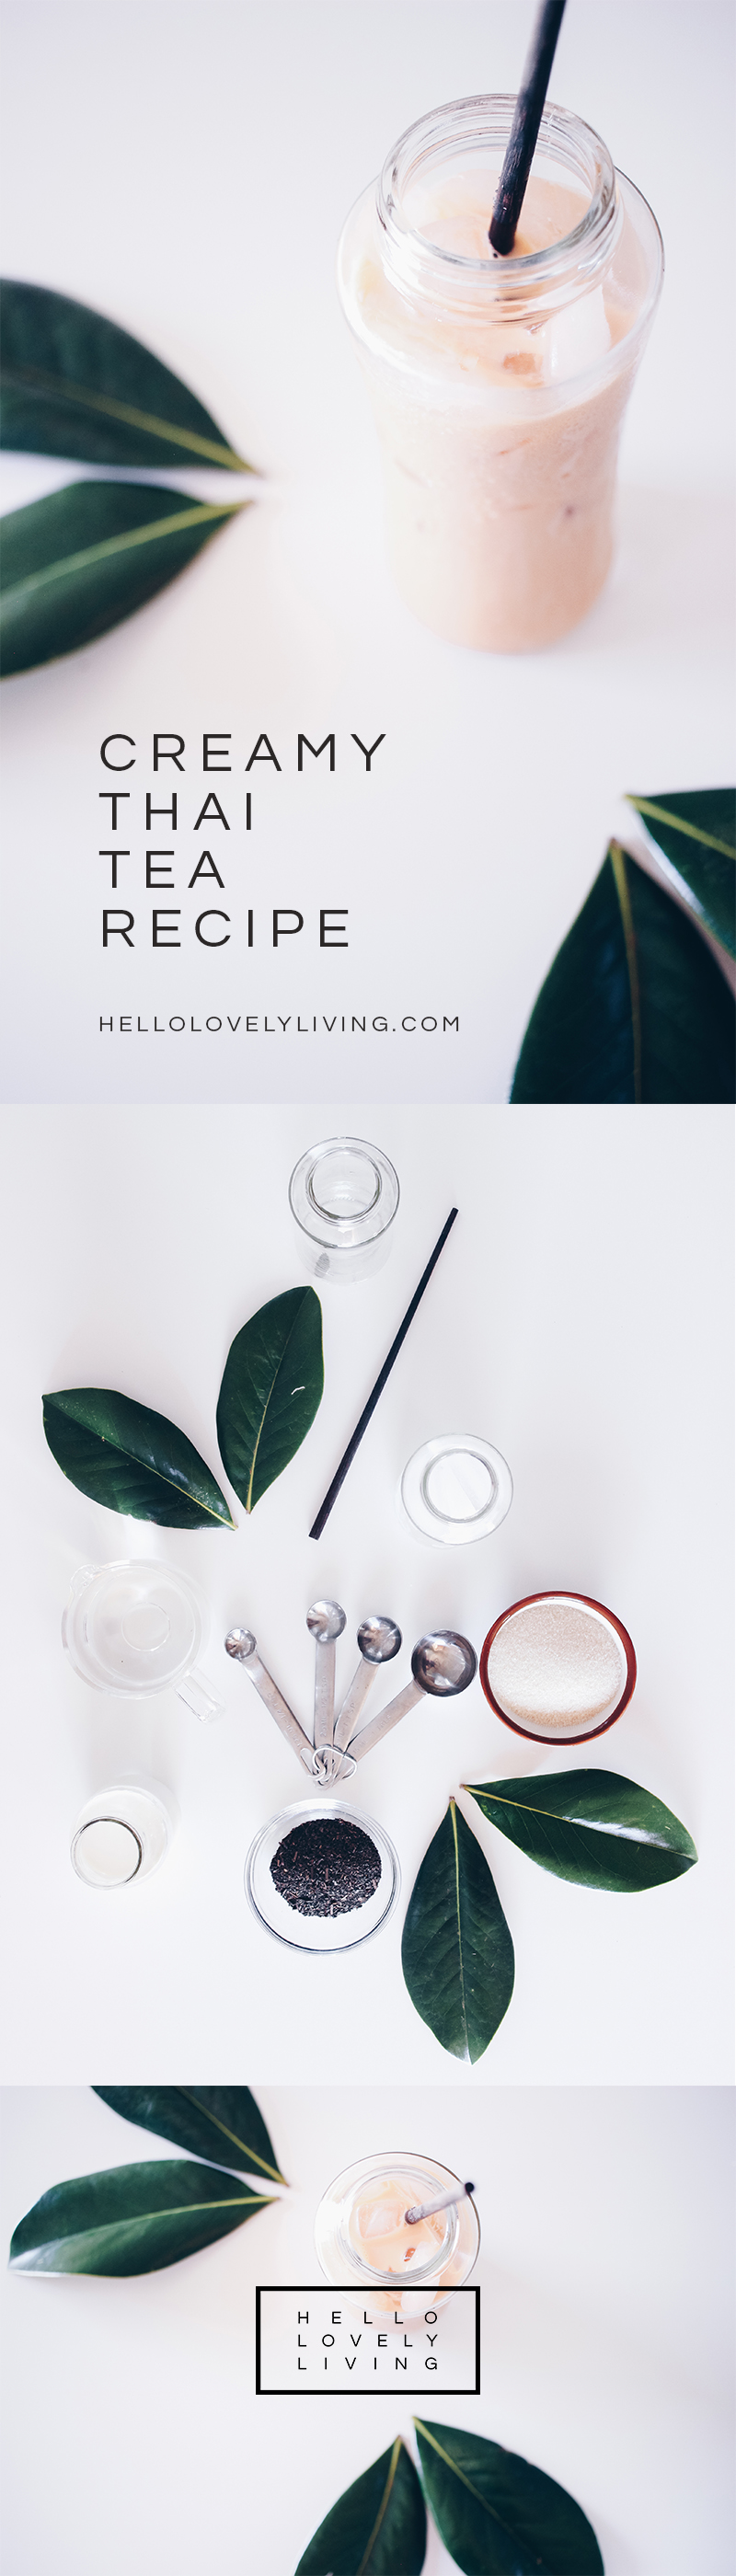
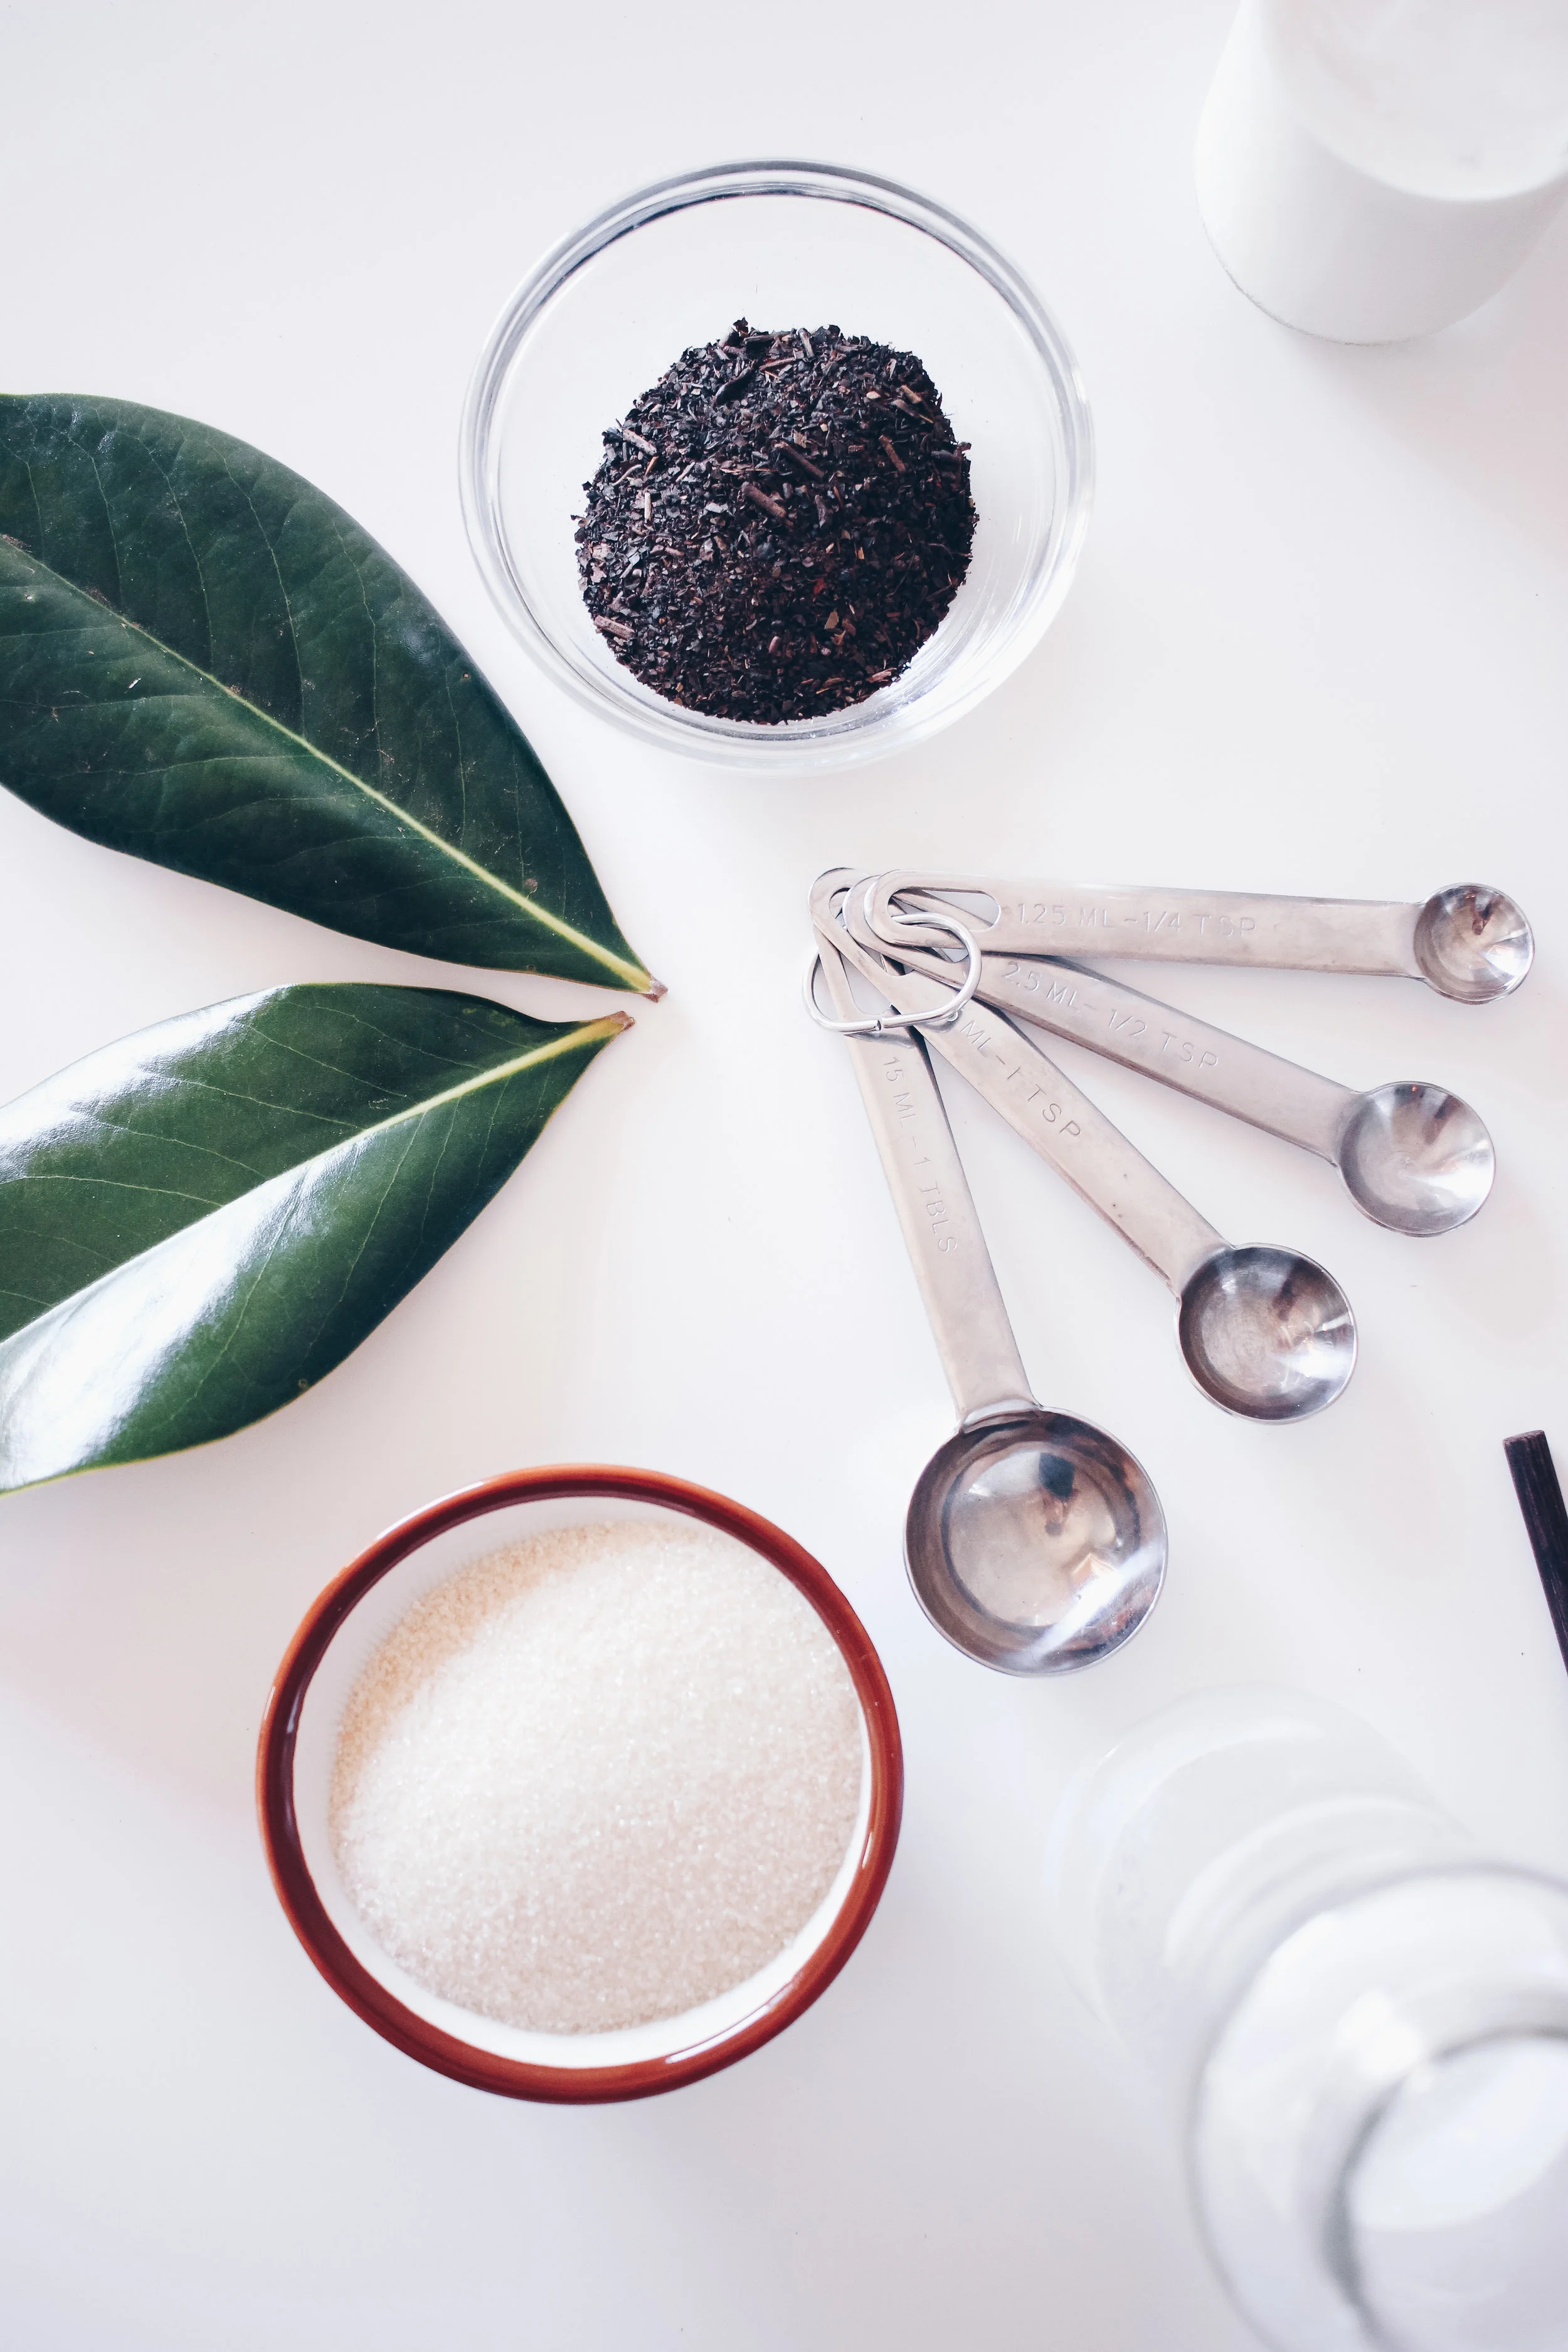
To make this deliciously legal drink, you'll need Thai tea mix, which I was able to find in my local Asian store in Oklahoma City, Super Cao Nguyen. It is also available online, which may be a much easier option for you. Here's the Thai tea mix that I use. You'll also need the basics: sugar, water, ice, and half and half. I prefer not to use sweetened condensed milk or evaporated milk for my Thai tea, but if you'd like to go the traditional route, that's totally up to you! I also love to use almond milk, but I've discovered that half and half tastes way better.  

HelloLovelyLiving.com | Creamy Thai Tea Recipe

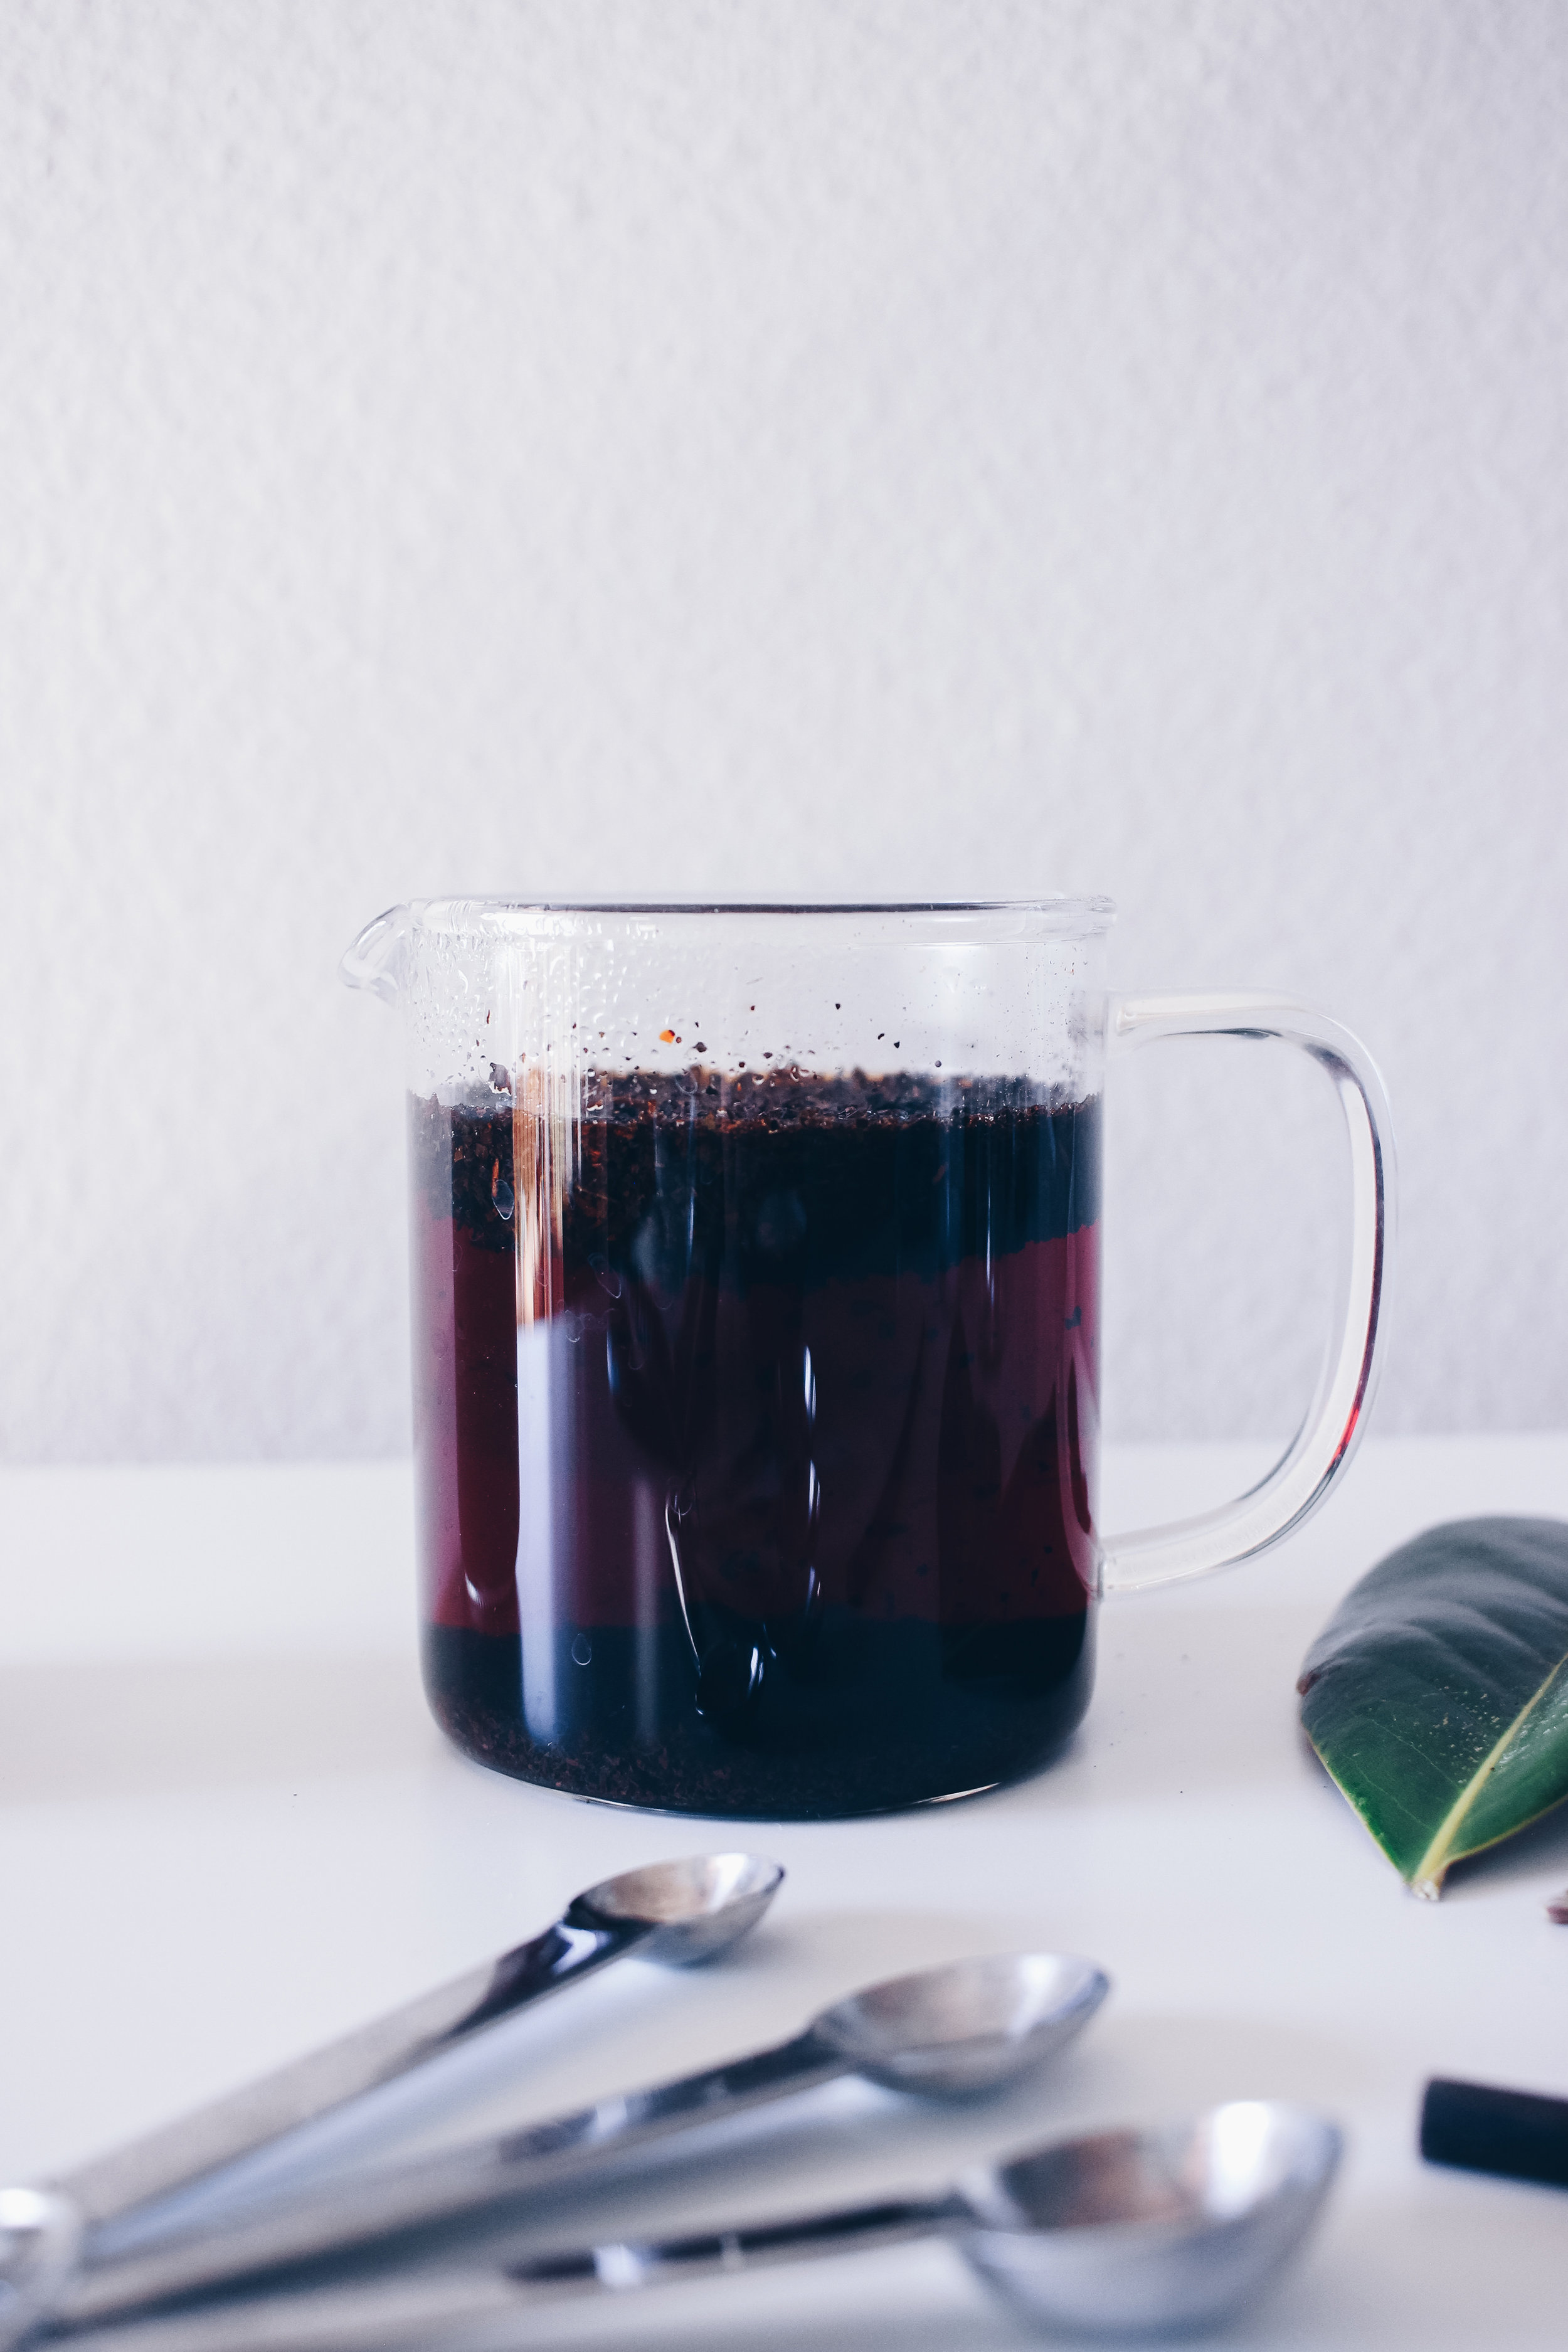
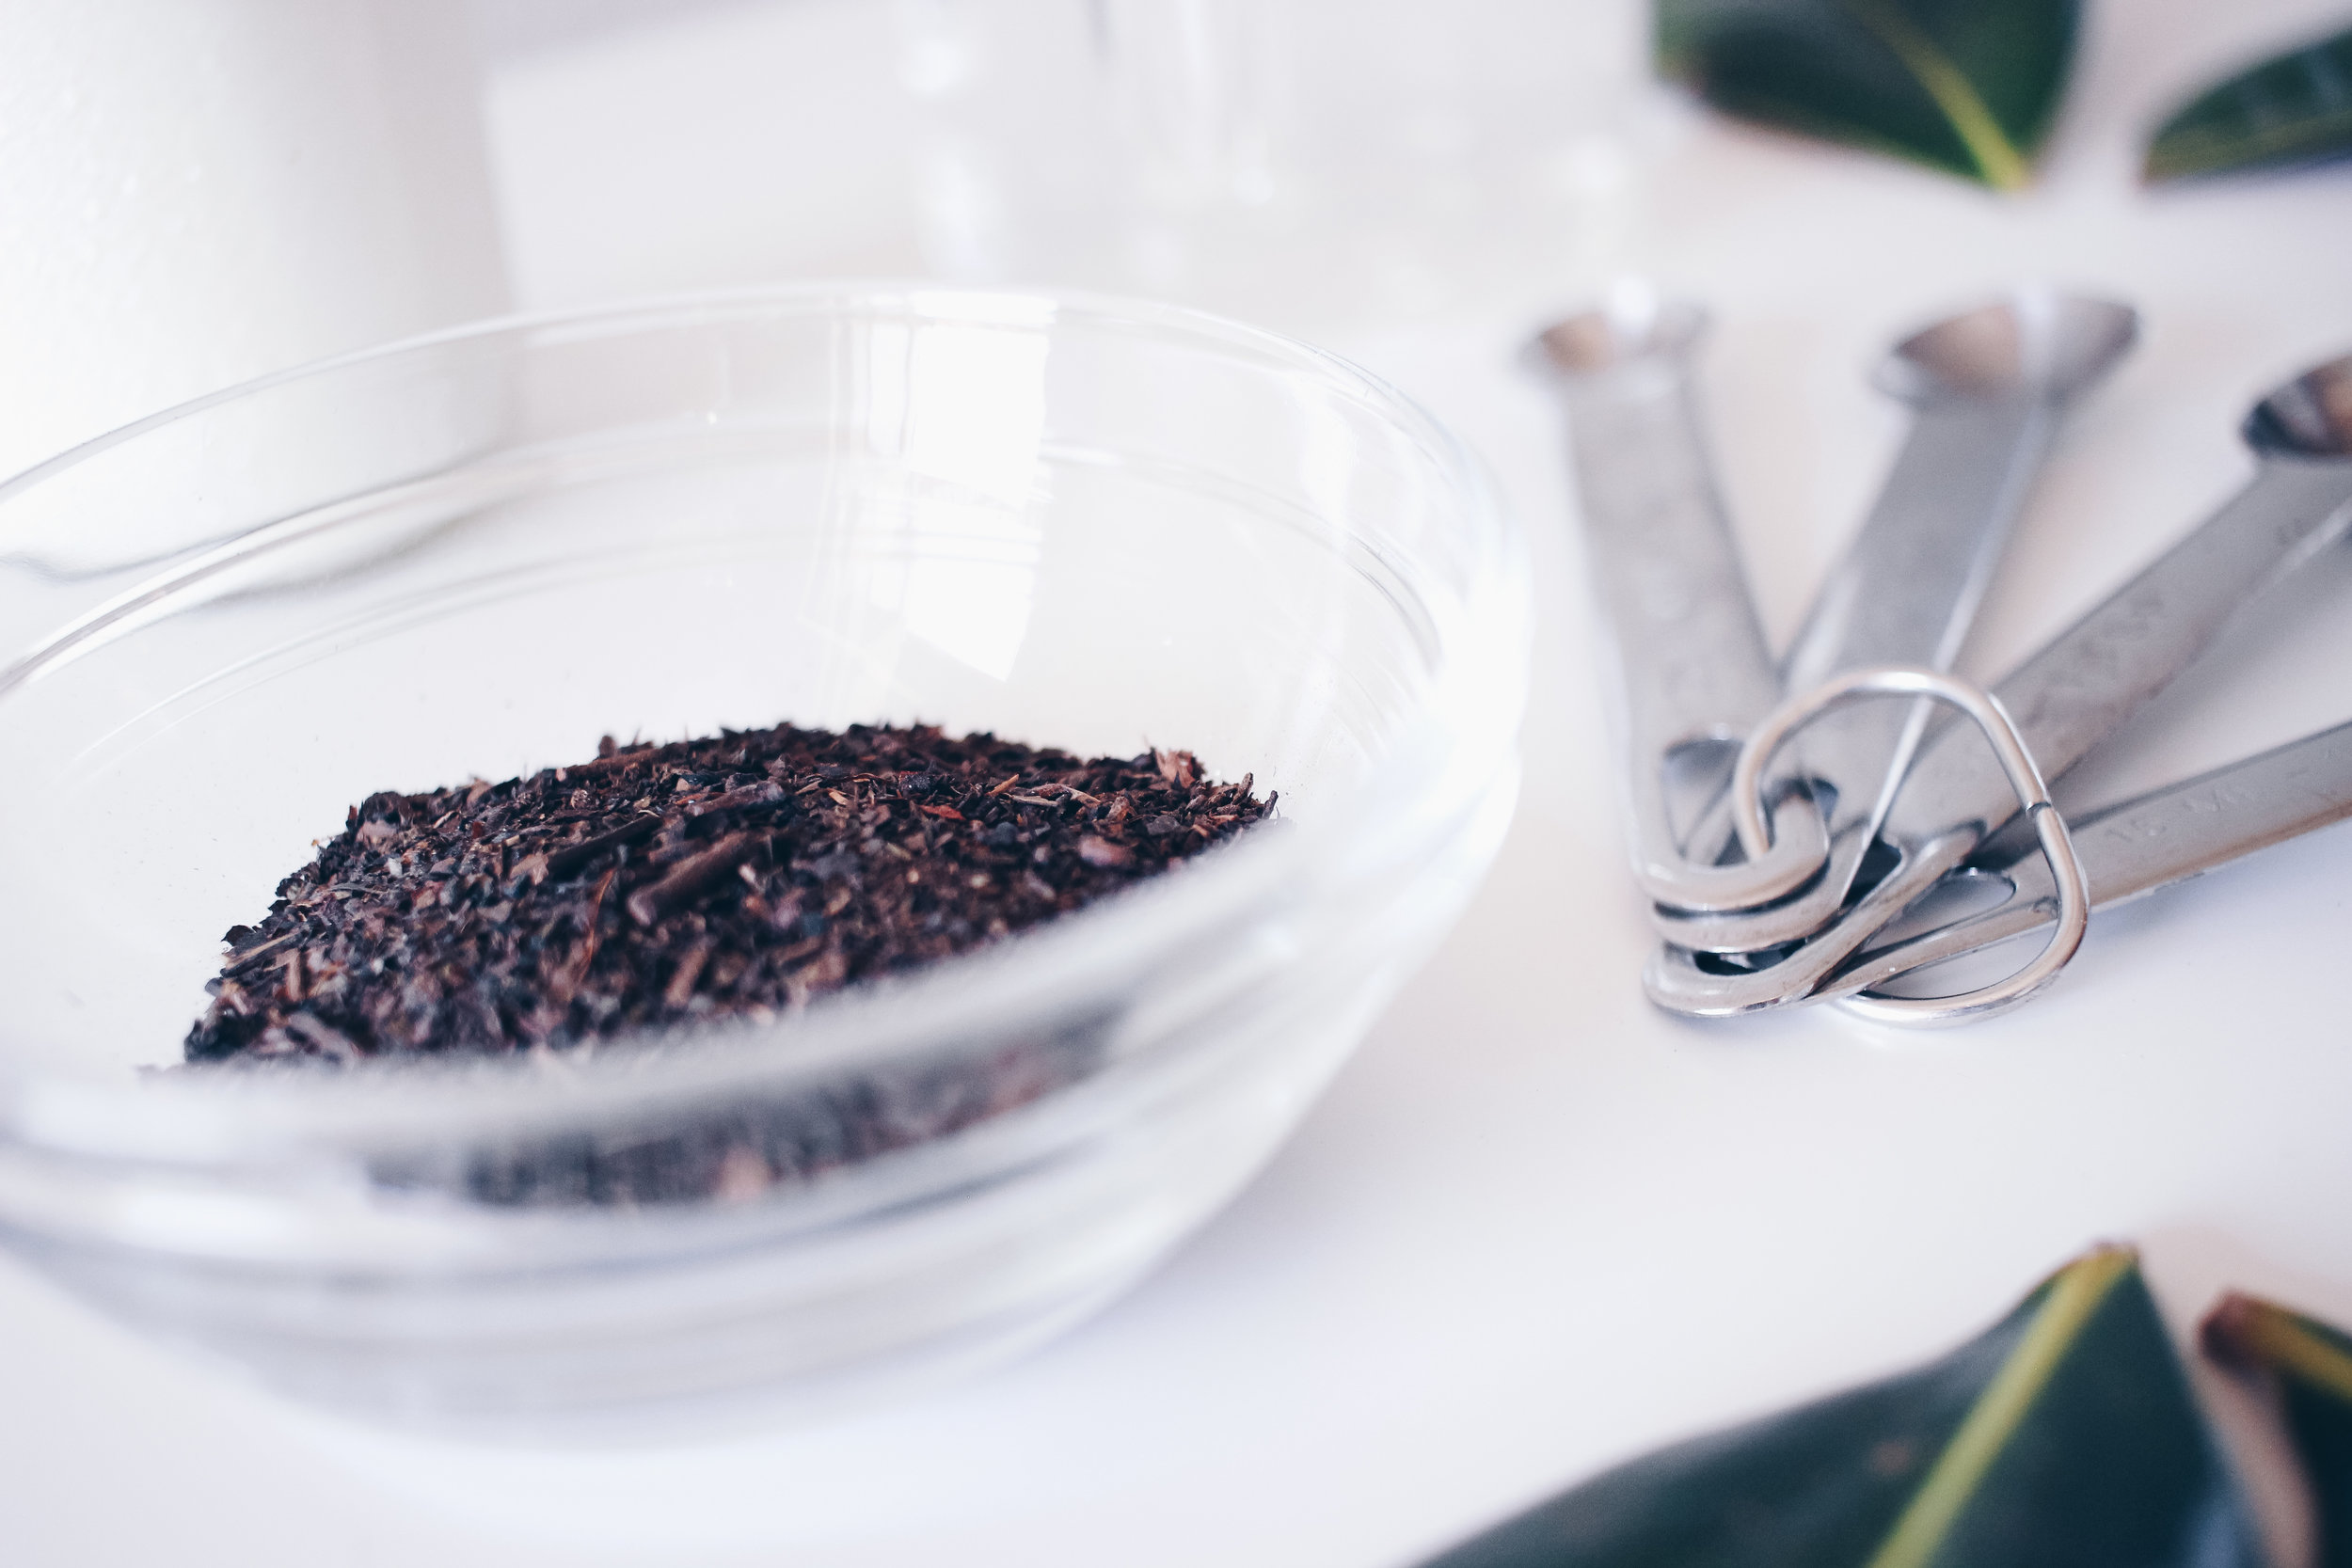
So, what you'll need to do first is add 2 cups of water to a small saucepan and bring it to a rolling boil. Since this is a loose leaf tea, you'll need to use a strainer. I poured the boiling water into my glass jar (that has a strainer lid) and then added in 2 tablespoons of the loose leaf tea. I let it steep for 3 minutes or until it develops a deep color. I take a separate jar and pour the strained Thai tea into it so that the tea doesn't continue to steep. Now I add 5 or 6 tablespoons of sugar, which quickly dissolves since the tea is still hot. After this, it is preferable to let the tea cool first before you use it, but since I am impatient, I always skip this step.

HelloLovelyLiving.com | Creamy Thai Tea Recipe

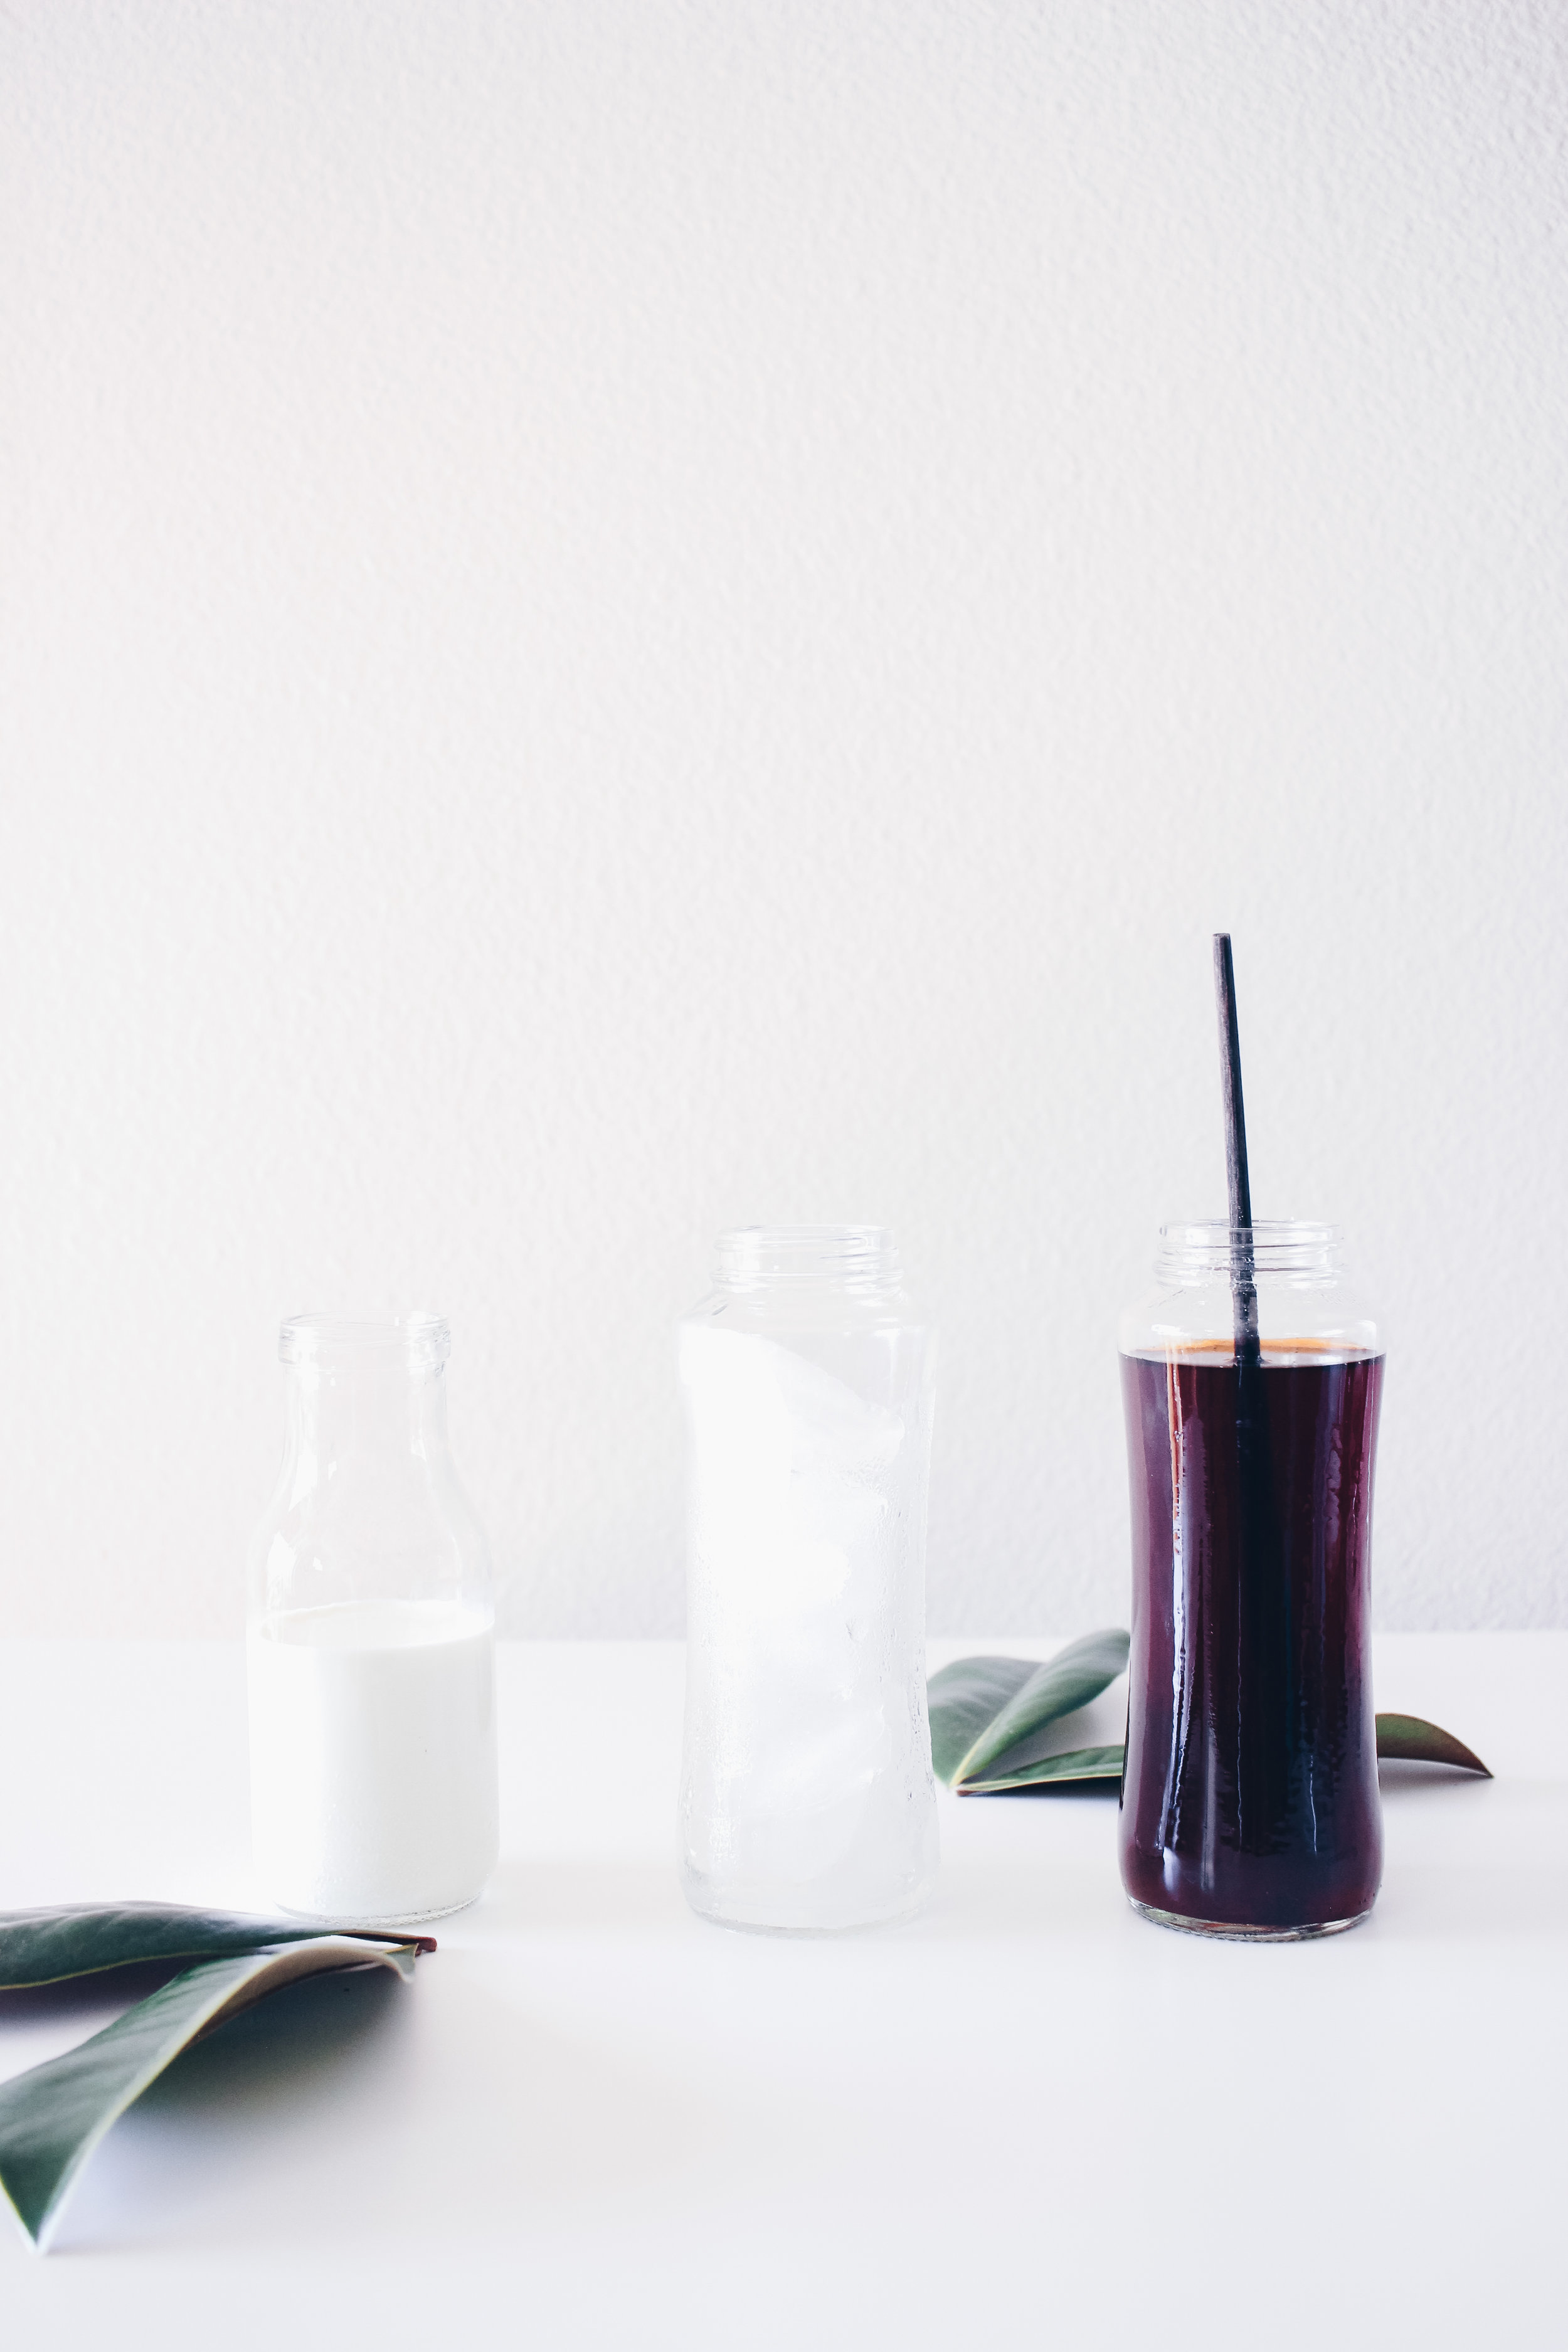
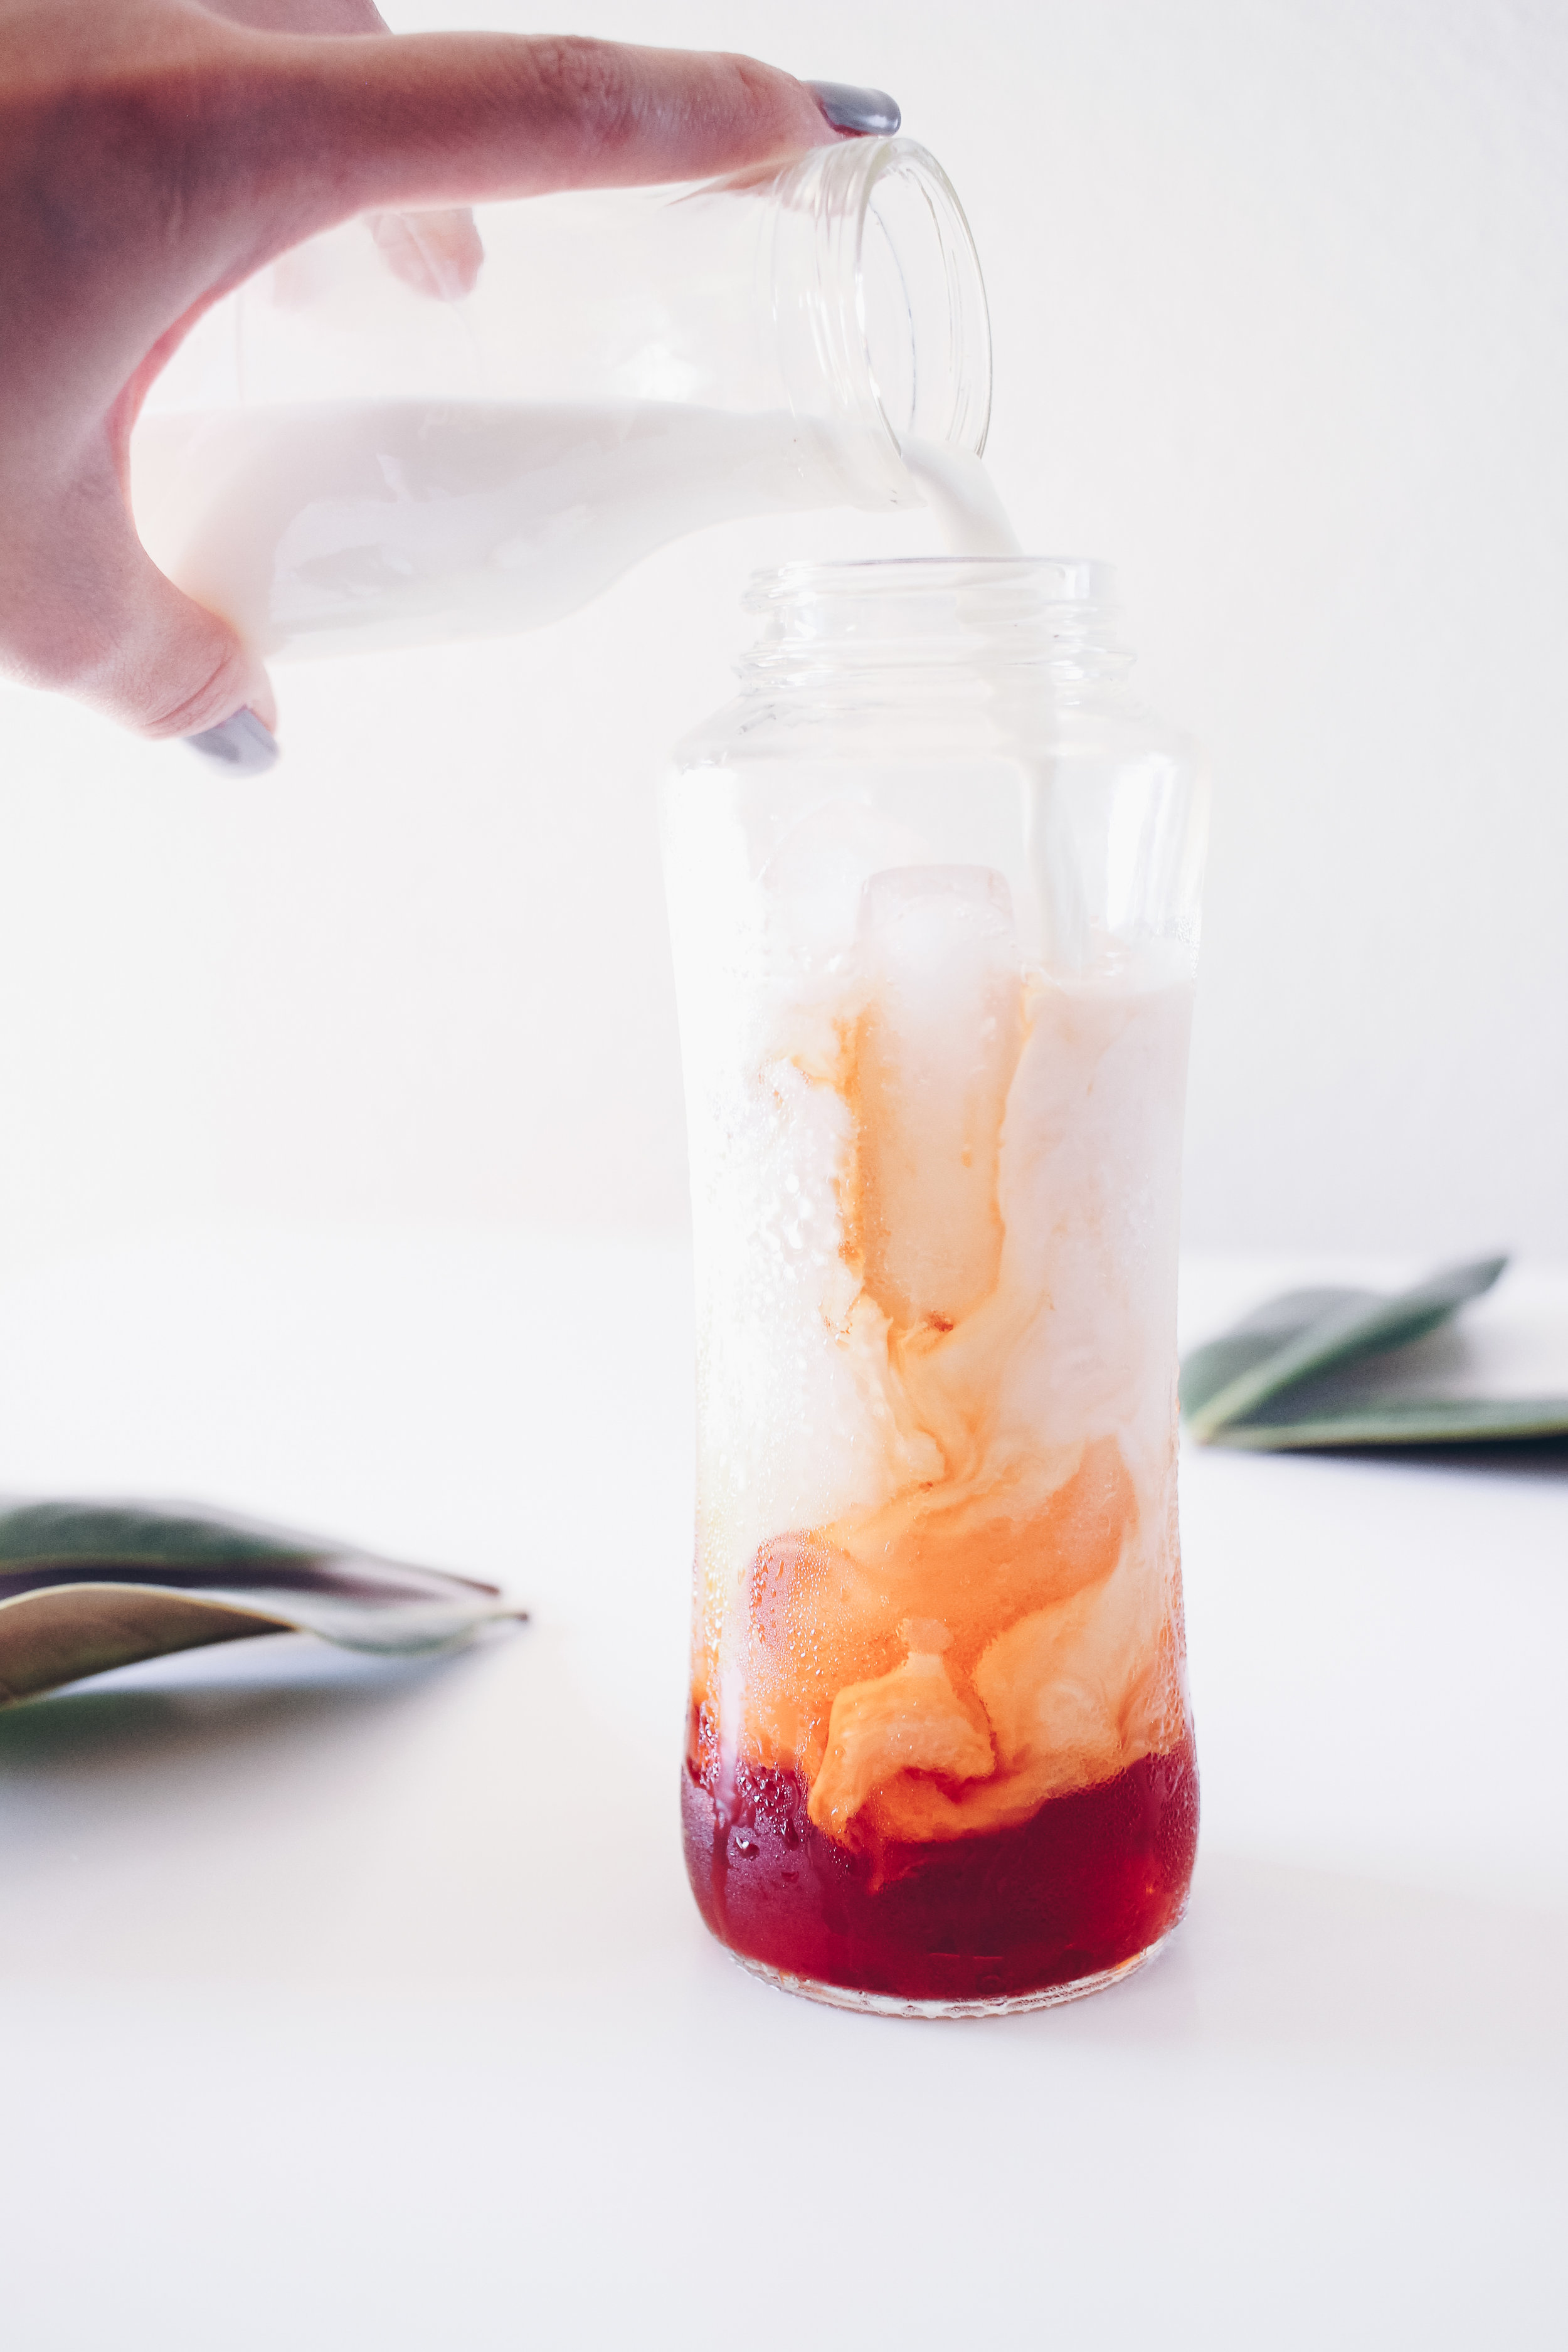
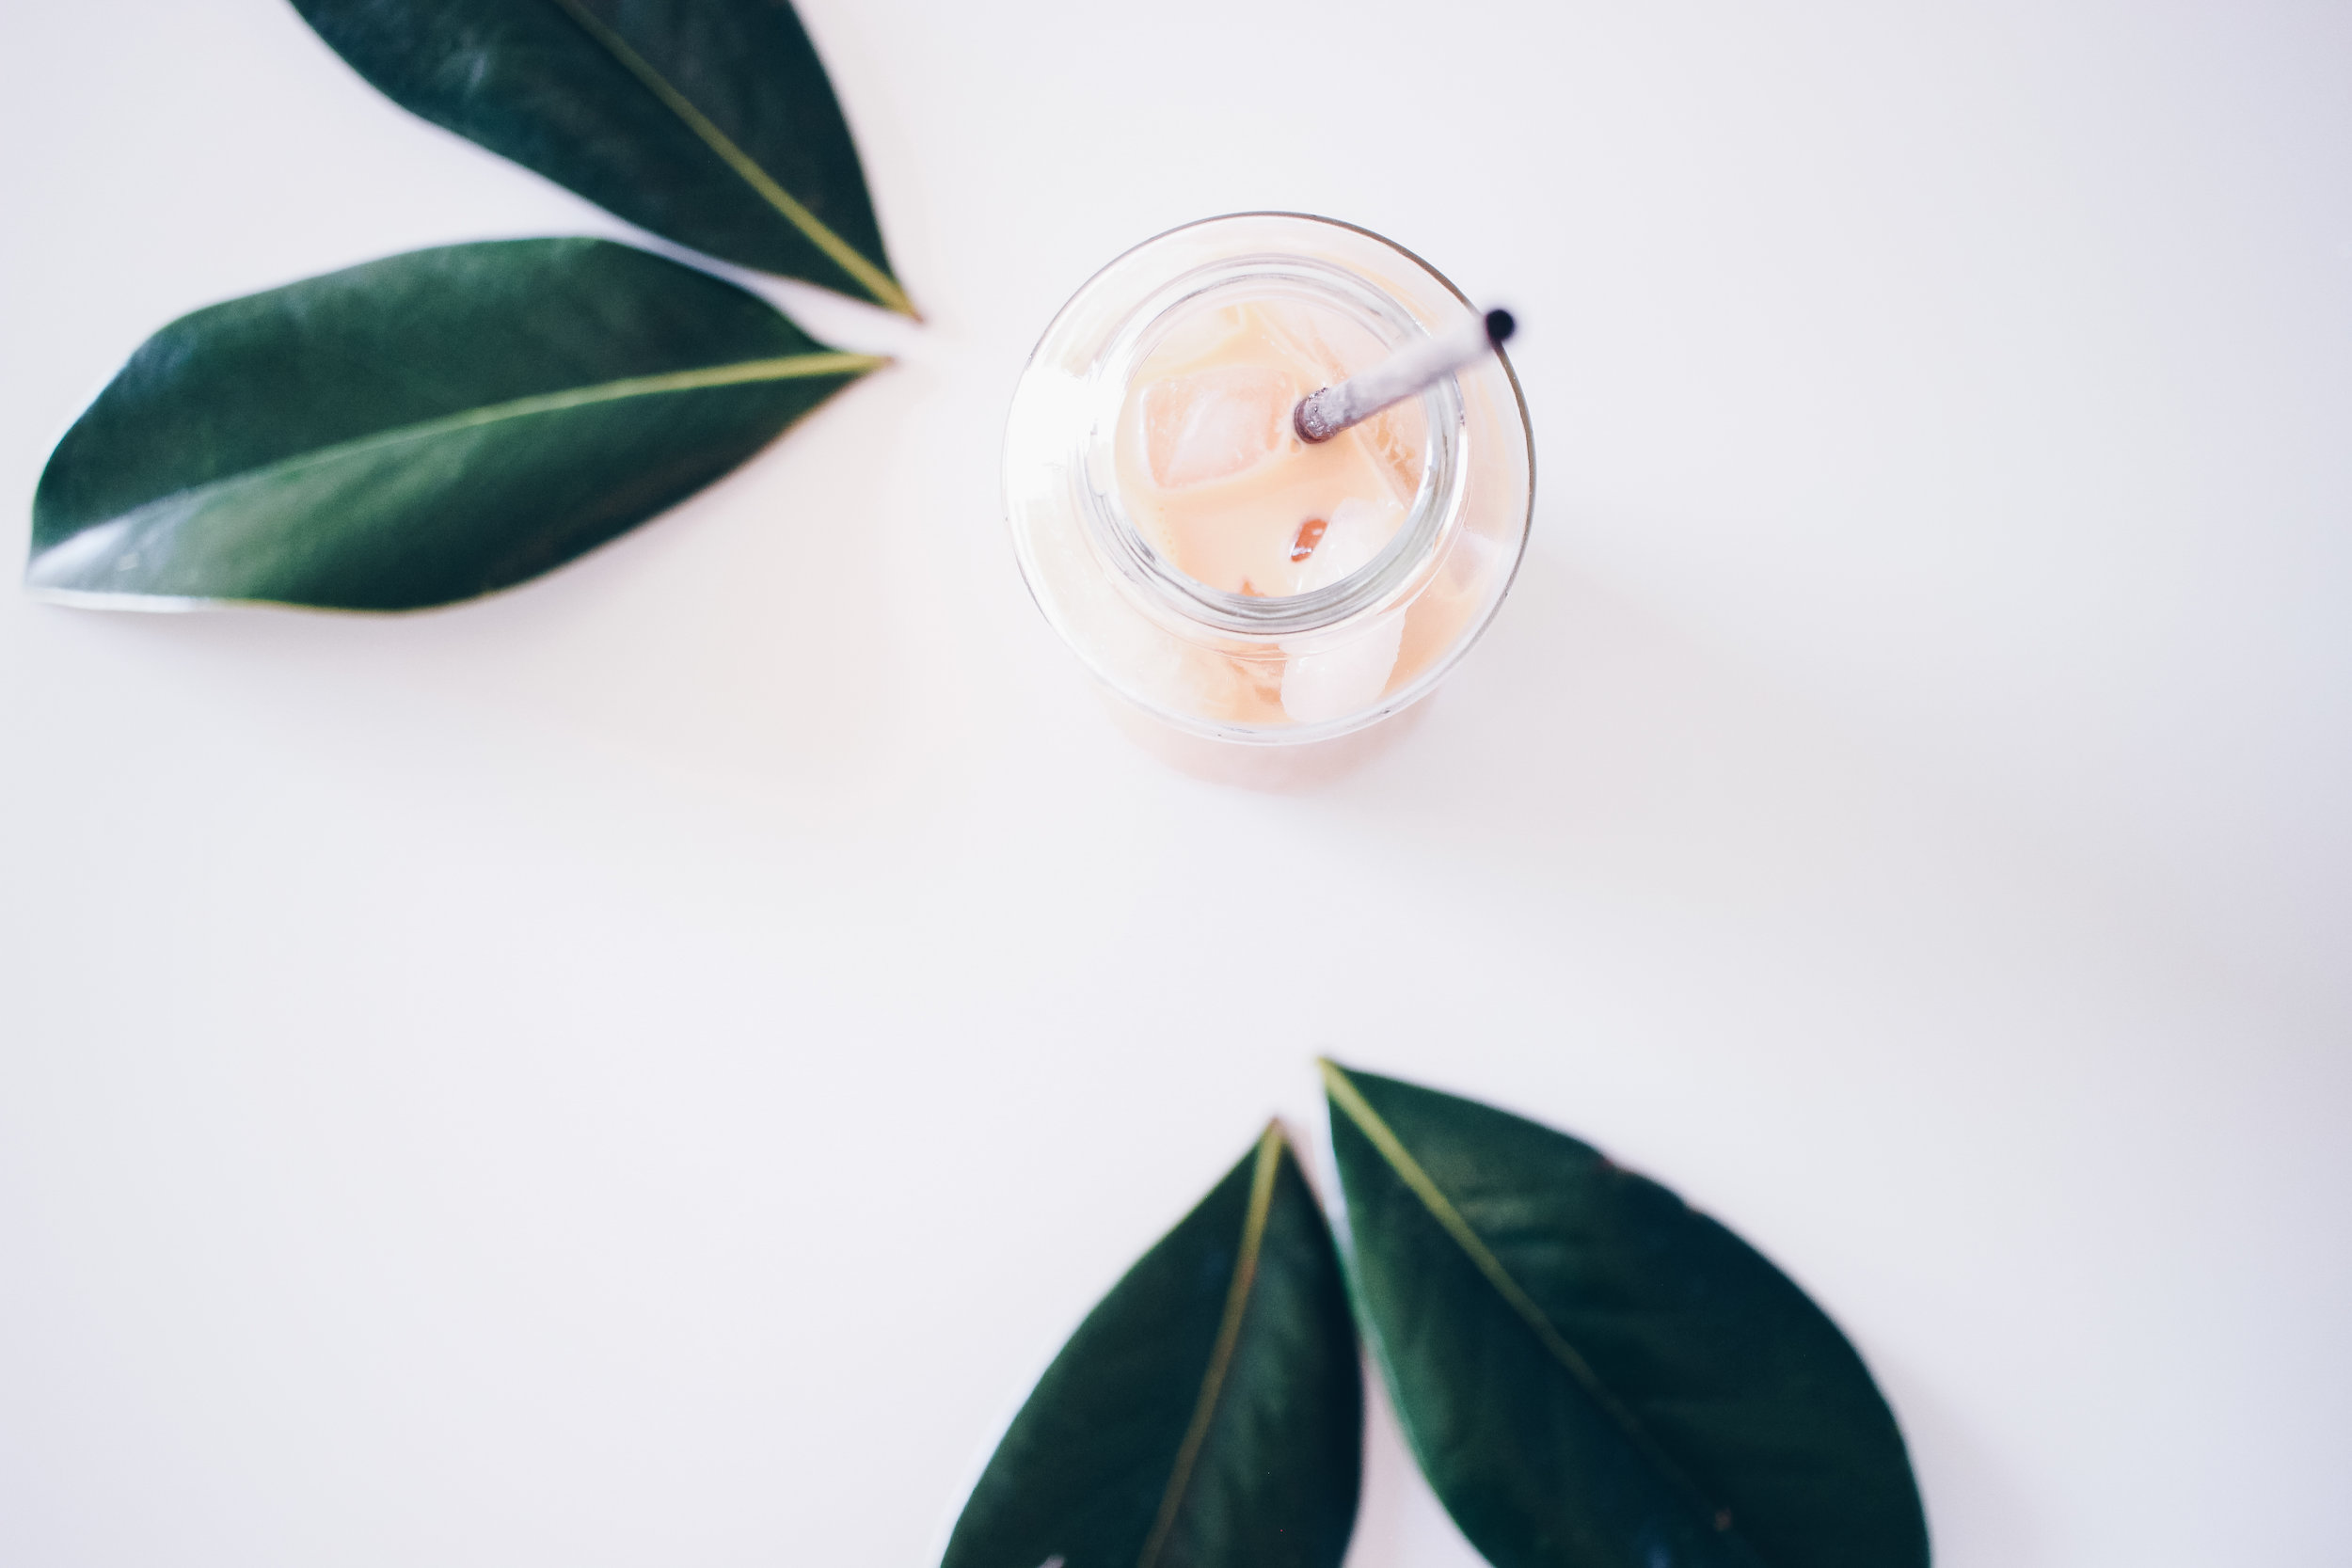
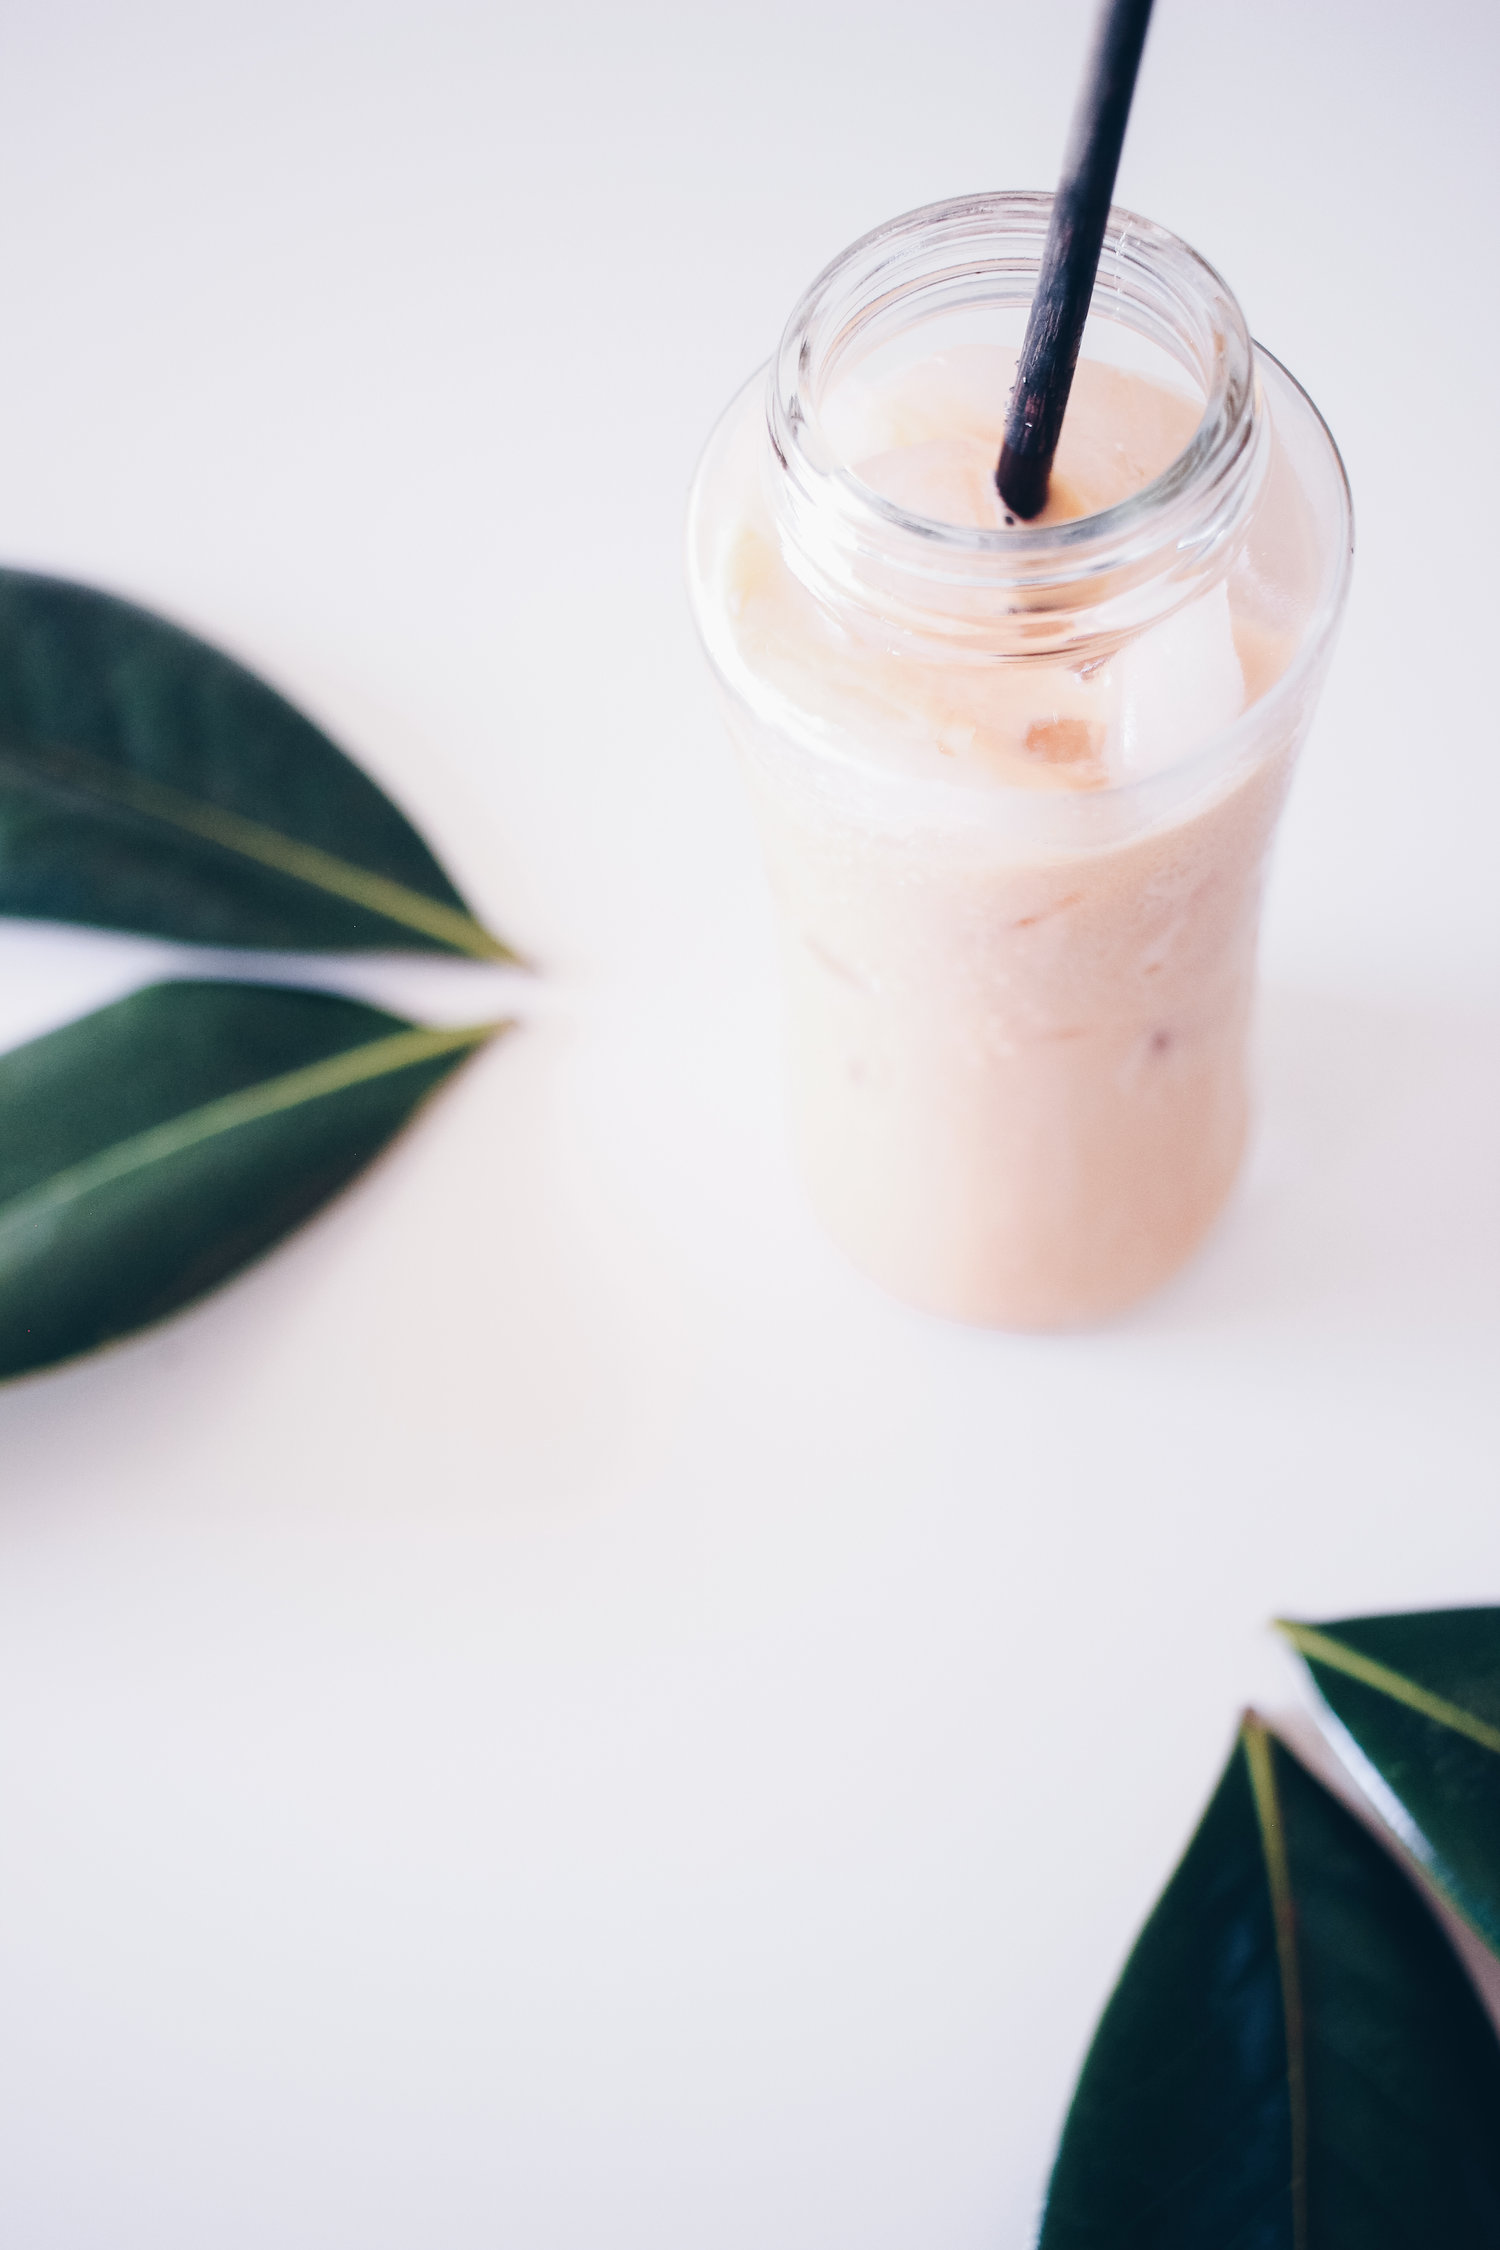
Now, for the fun part! Fill your cup full of ice, then pour in 1/2 a cup of the Thai tea. Next, pour in 1/4 cup of the half and half. The ice will water it down a bit, so that's why we added a lot of sugar to the tea so it balances out. Stir stir stir, and enjoy to your heart's content! Take the leftover Thai tea that you made earlier and store it in the refrigerator for when you're feeling like having a quick fix. It will be enough to serve you 2 more drinks! 

HelloLovelyLiving.com | Creamy Thai Tea Recipe
 

Creamy Thai Tea Recipe


Servings: 3 servings

Prep: 5 mins

Cook: 5 mins

Total time: 10 mins


Ingredients

  • 2 Tbsp Thai tea mix
  • 2 cups water
  • 5-6 Tbsp sugar
  • 1-2 cups ice
  • 1/4 cup half and half

Instructions

  1. In a small saucepan, bring water to a rolling boil. Pour water over thai tea mix and steep for 3 minutes.
  2. Strain and pour the tea into a separate jar, then add the sugar. Mix well until dissolved.
  3. Fill your serving cup with ice, then pour in 1/2 cup of thai tea, then 1/4 cup of half and half. Stir and enjoy! Save remaining tea for later. Makes 2 more servings.

Notes

  • You can also substitute the half and half for your milk of choice, or for the traditional version, condesnsed milk and evaporated milk.
  • I use organic half and half and organic raw sugar for the best quality and taste.


I hope you enjoyed this recipe! Be prepared to get addicted to it if and when you try it! It's one of those things that went from Thai Tea Tuesday to Thai Tea Every day for me. 

Will you be trying out this recipe? If you do, I'd love to see your photos! Go on, tag me in your photos on Instagram using #hellolovelyliving and @hellolovelyliving so I can get all heart eyes on your photos + share them so others can do the same! 

Disclusure: Affiliate links are used in this post.

HelloLovelyLiving.com | Sharing Is Caring


Miniature Versions of Your Favorite Holiday Sweets

via Cake Time

The holidays are up and coming, and all I can think about are sweets! Since I'm not normally a sweets kind of person, I tend to get all excited once the holidays roll around because I love the desserts that are only around for a short period of time. When I stumbled across these miniature gingerbread houses, I just died! They are so adorable. I may just make them so I can stare at them all day. Not eat, just stare!

If you fell in love with these like I just did, you will definitely love this collection I put together of the tiniest and cutest holiday desserts out there. Being that they are so cute, you may just not want to eat them too, but seeing that they also look so delicious, that's probably not possible. Happy staring and happy eating! Hope you try these out.


Did you see something yummy? Let me know which one was your favorite in the comments!

lifestyleStina Xsweets, desserts


Matcha Monday | Honey Caramel Matcha Popcorn
image.jpg

Caramel corn is so addicting, but adding matcha and honey as well... It doesn't get any better than this. All caramel corn really is, is butter and sugar, so when you think about all of those yummy ingredients together, you're talking about the party of all parties in your mouth. Thanks to my husband for suggesting I put matcha into my caramel - I couldn't put down the container without finishing every last piece. Here's to changing caramel corn forever! Read on for the recipe. 

Honey Caramel Matcha Popcorn


Servings: 8 - 2 cup servings

Prep: 0 mins

Cook: 25 mins

Total time: 20 mins


Ingredients

  • 2/3 cup popcorn kernels
  • 2 Tbsp olive oil
  • 1/2 cup raw organic honey
  • 1/2 cup brown sugar
  • 1 tsp matcha powder
  • 1/2 cup butter
  • 1/4 tsp salt
  • 1/4 tsp baking soda

Instructions

  1. For popcorn: Pop kernals in two batches. In a large 4-quart heavy-bottomed pot with lid on, heat 1 Tbsp of oil on medium heat and add 1/3 cup of kernals. Gently shake pot to distribute heat and oil on kernals and leave lid slightly adjar to allow steam to escape. Once it begins to pop, watch carefully and shake pot occasionally. Remove from heat as soon as you notice popping stops at 2 to 3 seconds apart. Repeat steps for second batch. Pour popcorn onto a 17.25" x 11.5" baking sheet lined with parchment paper.
  2. For caramel: On medium high heat, melt butter, brown sugar, honey, matcha powder, and salt in a large saucepan and heat until boiling.
  3. Once boiling, reduce heat to medium and allow to boil for 3 minutes without stirring. It will start to bubble, so watch it carefully.
  4. Remove from heat and add baking soda. Stir to combine. The mixture will get even more bubbly.
  5. Pour caramel over popcorn and gently mix to coat. Place in a 250° heated oven at 5 minute intervals and mix to evenly coat each time. When all kernels appear evenly coated, you may remove from the oven. Allow to cool before storing.

Notes

  • For more matcha flavor, just add more matcha powder.
  • Store in an air-tight container.

Homemade popcorn is just way more fun and even way more delicious. This is perfect for the holidays because of that rich, green color that the matcha powder creates. Just package in pretty little gift bags or containers and you have a simple DIY gift that anyone will love. I hope you try this out! 

Look out for more matcha recipes coming soon.

What is your favorite popcorn flavor? Share with me in the comments!


Royal Milk Tea with Boba

So, I've been on this royal milk tea binge lately and I found myself asking my hubby to take me to get some almost every day - that and pho. There's a time to get addicted to pho, and my time is NOW. Thankfully, that has died down, but my milk tea cravings continue. I decided: Why not just make that extra effort and make royal milk tea at home? It can't be that hard, right? I mean, isn't it just a ton of sugar, milk, and tea? Come to find out, it is. I'm sure the boba shop ones have some syruppy thing in it, but homemade is always better - less chemicals and mystery ingredients.  

Royal Milk Tea with Boba

Now, if you try my recipe, you will discover how extremely simple and easy it is to make this yourself, and then you'll kick yourself in the butt for all of those times you paid $3-6 for 8 oz of milk tea, only to find out it was mostly ice. Plus, your tummy won't spontaneously freak out on you and react to whatever dairy they used (true story). All of the ingredients are simple enough to find at any grocery store, and the boba pearls can be found at asian markets or online. Don't forget your wide straws too! That's the best part.

Royal Milk Tea with Boba

So, does it taste like the real thing? It's not as sweet, but that's how you know you're not killing yourself with every sip - you can control the amount of sugar you put in. I find it a pretty good substitute, and saving money is always my favorite thing to do, especially when it comes to eating out.

Royal Milk Tea with Boba

Let me show you just how simple this recipe is! 

Royal Milk Tea with Boba


Servings: 2

Prep: 5 mins

Cook: 15 mins

Total time: 20 mins


Ingredients

  • 1/2 cup tapioca pearls "boba"
  • 2 cups water
  • 2 organic black tea (2g bags x 2)
  • 1 cup organic milk
  • 5 Tbsp turbinado sugar
  • ice
  • boba straws

Instructions

  1. First cook boba by placing 1 cup of water in a small saucepan and bringing to a rapid boil. I purchased the boba that cooks in 5 minutes. Boil for 5 minutes or until soft and remove from heat.
  2. In a small saucepan, boil 1 cup of water. Once it comes to a rolling boil, place tea bags in and let boil for 4 minutes. Remove tea bags, then add milk and sugar. Once it starts to simmer, remove from heat.
  3. Prepare a cup of ice and pour the milk tea over to rapidly cool. In another cup, add boba and fill halfway with ice, then pour the chilled milked tea over. Do this twice since you will have two servings. Share with someone special and enjoy!

Notes

  • The ice will water the milk tea down, so that is why I increased the sugar. You can always cool it completely first and add less sugar.
  • Try using other teas like Assam Black Tea.

My Ingredients


I hope you get to try my recipe! Again, I used 5 minute boba to make it quicker to prepare. There's no difference in taste either - and just as addicting as the real stuff. Let's be addicted together! <3

Are you addicted to milk tea too? Share with me in the comments what your favorite flavors are. 


5 Refreshing Summer Sweets that will Make you Go Vegan

Refreshing, easy, and colorful is the theme of my curated collection of vegan summer sweets. Cool down, grab something sweet, and enjoy your time soaking up the last of those summer days. I know, I'm sad that it will be over soon, too. Warning: You may just want to eat any number of these recipes immediately - so get ready to head to the grocery store! 

5 Refreshing Summer Sweets that will Make you Go Vegan

1. Summer Celebration Fruit Tart: How pretty is this tart! It's incredibly simple to make, and what makes this tart so summery are the fresh seasonal fruits and delightful toppings like fresh herbs and bee pollen. This picturesque tart is almost too pretty to eat, and it's vegan and gluten-free. What could be any better on a summer's day? (via My New Roots)

5 Refreshing Summer Sweets that will Make you Go Vegan

2. Stecco Gelato: This "stick ice cream" as it is translated to contains two of my all-time favorite fruits: blackberries and raspberries. The color of these popsicles are so rich and I am guessing that they taste just the same. These are a perfect treat on a hot, sunny day, or for those mid-afternoon moments when you get a sweet tooth. (via Smile, Beauty and More)

5 Refreshing Summer Sweets that will Make you Go Vegan

3. No Bake Blueberry Lemon Cheesecake: I love how vegan recipes look so beautiful and use the freshest ingredients. Isn't that the best part about eating - eating with your eyes? And I just loooove blueberries. They're so easy to add to anything, they taste amazing, and they are packed with antioxidants among other super-fruit powers! Everything about this recipe takes the guilt out of dessert. The crust is made from almonds and dates and the filling contains coconut oil, coconut milk, and cashew nuts. I can just imagine how creamy this is! (via Call Me Cupcake)

5 Refreshing Summer Sweets that will Make you Go Vegan

4. Coconut Lavender Lemonade: That color - I have never seen a prettier lemonade in my life! It's hard to describe the taste of lavender, but it's really light and refreshing, so don't be scared to try it. Since floral notes are not for everyone, you can get creative with this idea of infusing lemonade with various flavors. Coconut water is very hydrating and will give you that boost of energy on those hot days. (via Confectionalism)

5 Refreshing Summer Sweets that will Make you Go Vegan

5. Cantaloupe in Coconut Rose Cream: The color of this delightful creation screams SUMMER! Doesn't it make you feel refreshed just looking at it? Cantaloupe was made for summer, agree? This is completely dairy-free, too. What's the white stuff, you ask? Coconut cream. Coconuts are so versatile for vegan recipes as you've seen so far. And there's something hidden that makes this recipe so interesting. It's the rose water and cardamom powder that just do it for me. I'm dying to try it! (via Kiran Tarun)

Now that I've officially prepared a feast for your eyes, which recipe are you convinced will make you turn vegan? Haha, kidding. You don't need to become a vegan to eat vegan or feel pressured that you must say an oath. I love that there are so many recipes accessible today that show you that you don't have to sacrifice taste for eating healthy. If anything, you gain so much more flavors because vegan recipes often contain diverse ingredients that you may have never tried together. It's an adventure for your senses, so why not escape for a little bit and try something new. <3

Which of these recipes do you hope to try? Share with me in the comments!